Quilt Mittens – Modern Quilts Interpreted as Mittens

Not Ready for a Quilt Coat? 

Have you been eyeing the quilt coat trend? If you’re like me, you kind of want to join in but you’re not sure you have the interest or capacity to tackle a full-blown coat. Or maybe you’d like warm-up round before diving into a full coat? Well, you’ve come to the right place. Quilt mittens are the perfect gateway project to quilted garments.

Perfect Handmade Gift for Friends and Family

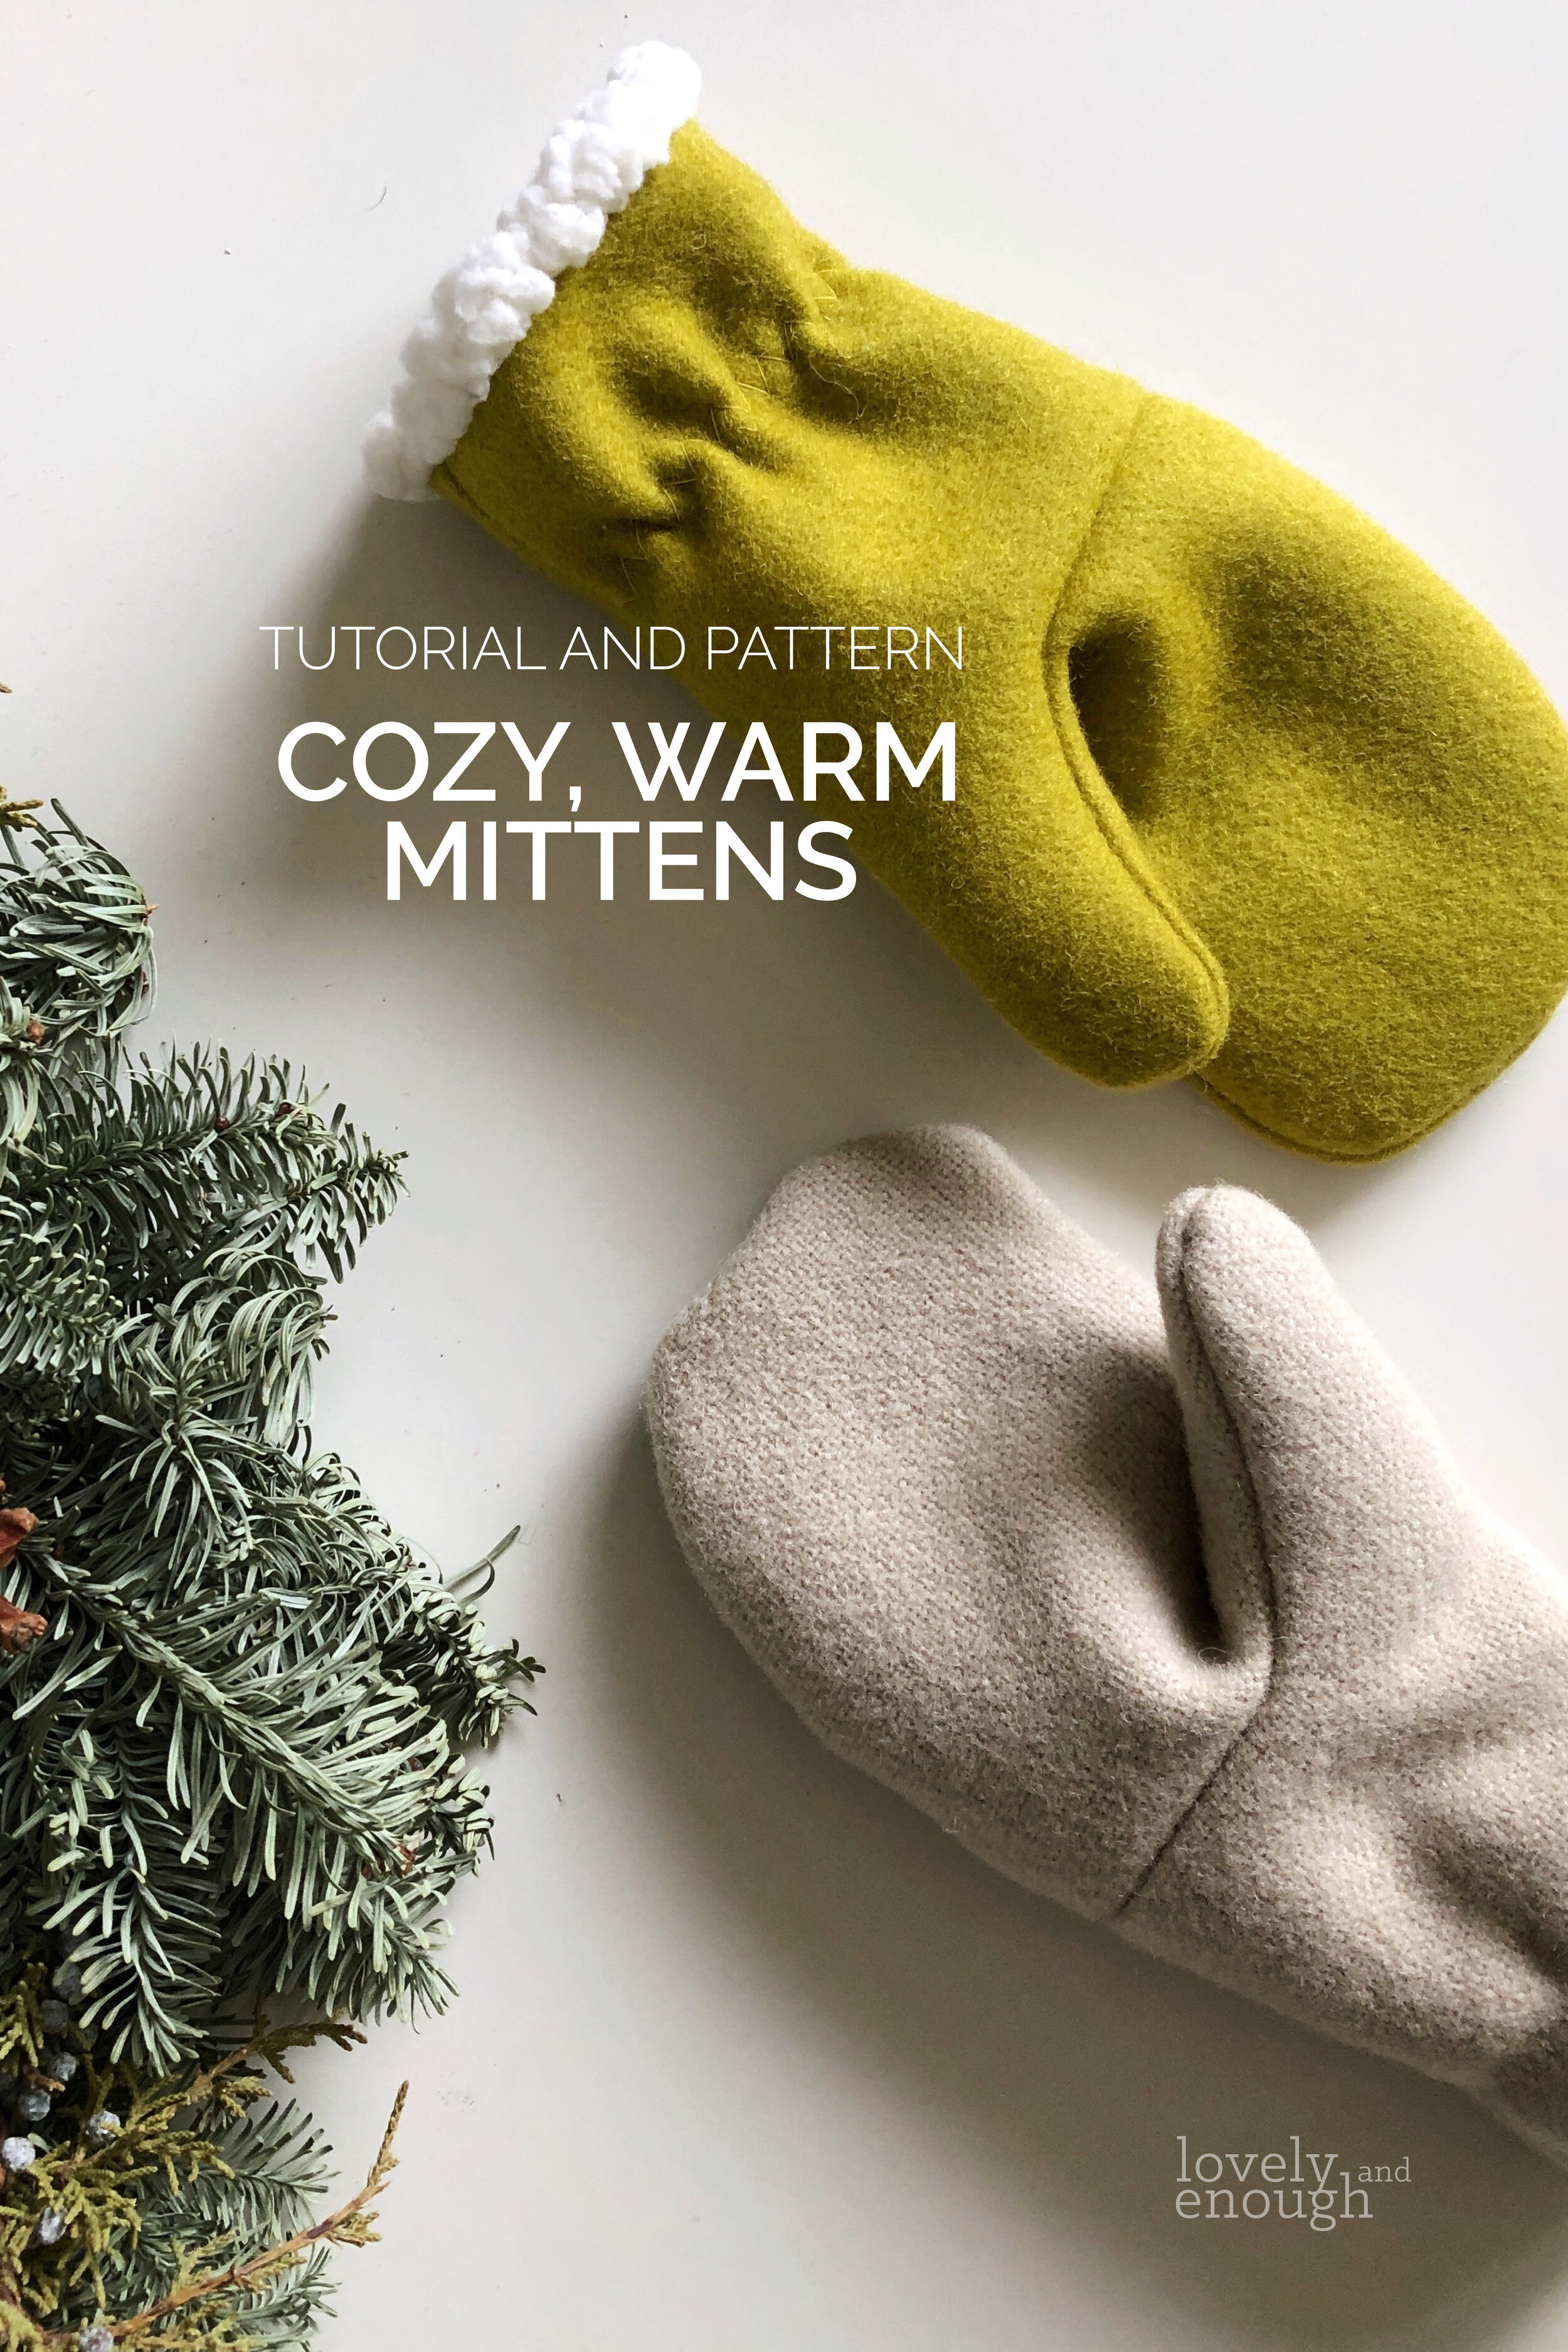
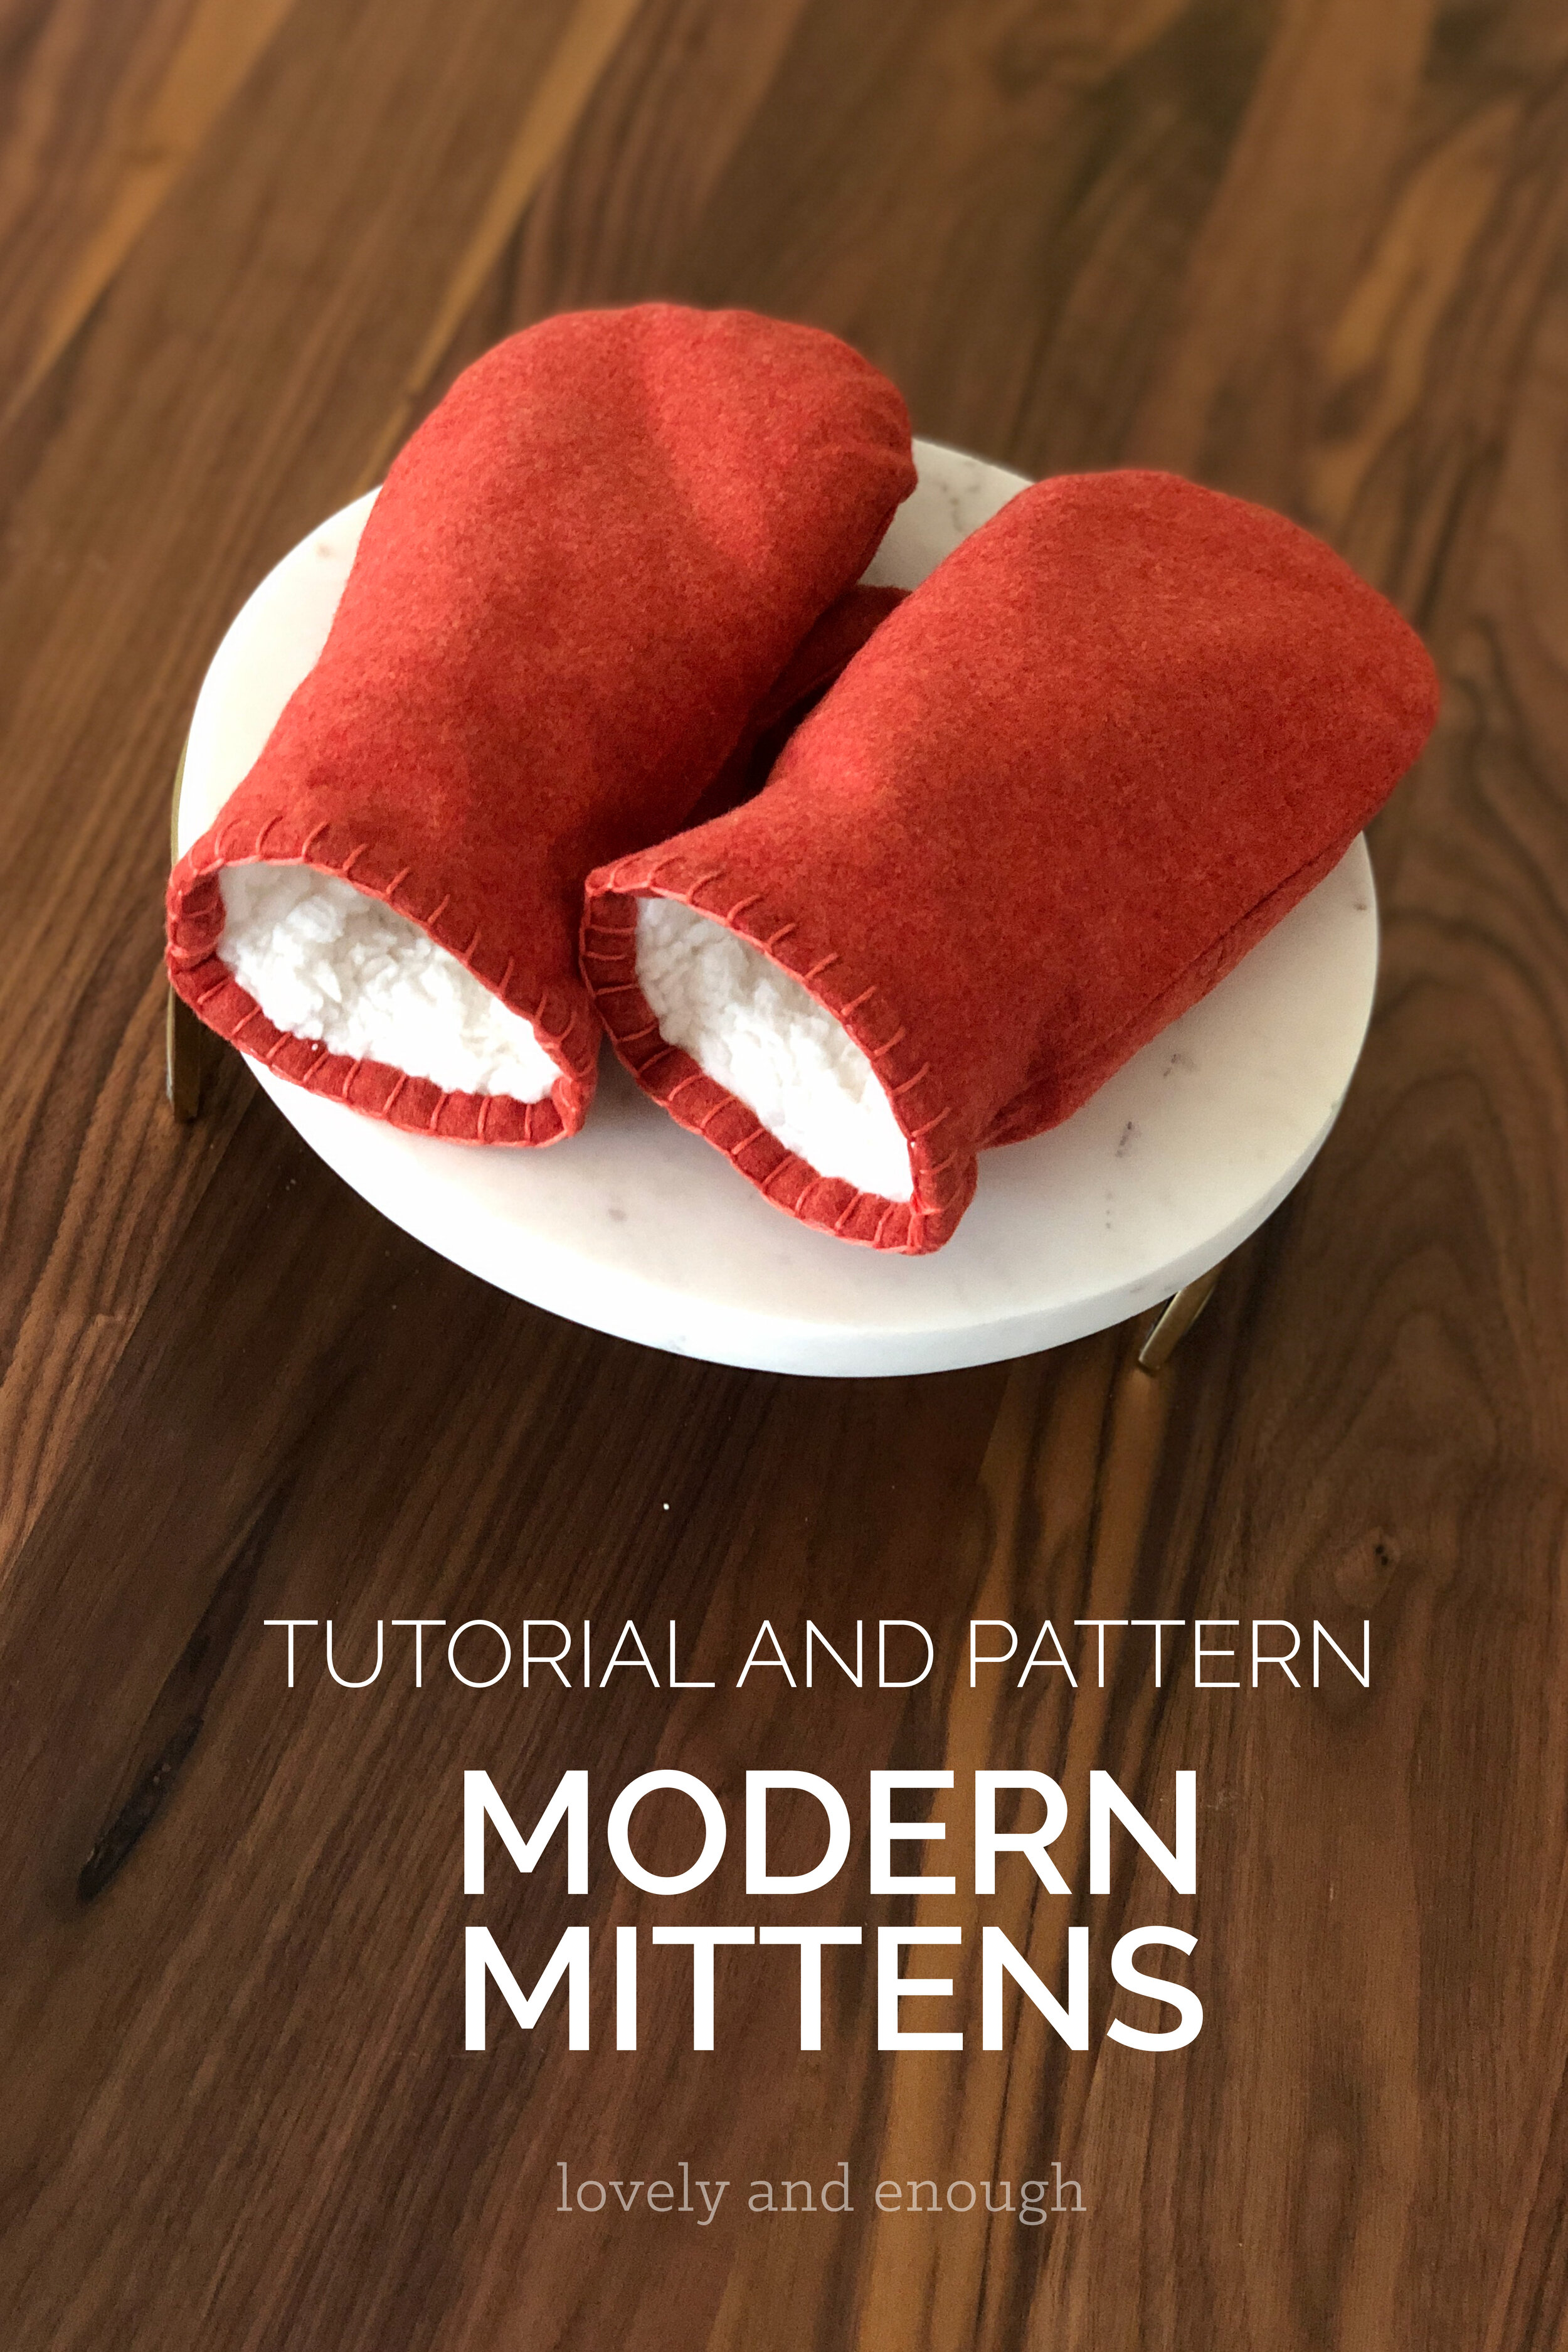
These mittens are a cozy and quick make. They are the perfect gift as winter rolls in; great for your parents’ aging hands, your teenager headed back to college, your trendy friend living in snowy New York City, or your friend tending chickens in freezing rural Saskatchewan. Maybe you just want a pair of quilt mittens for yourself. Well, be prepared to make yourself a second pair when someone purloins the first pair!

Quilt-Mittens-Lovely-and-Enough-04.jpg

Modern Quilts Interpreted as Mittens

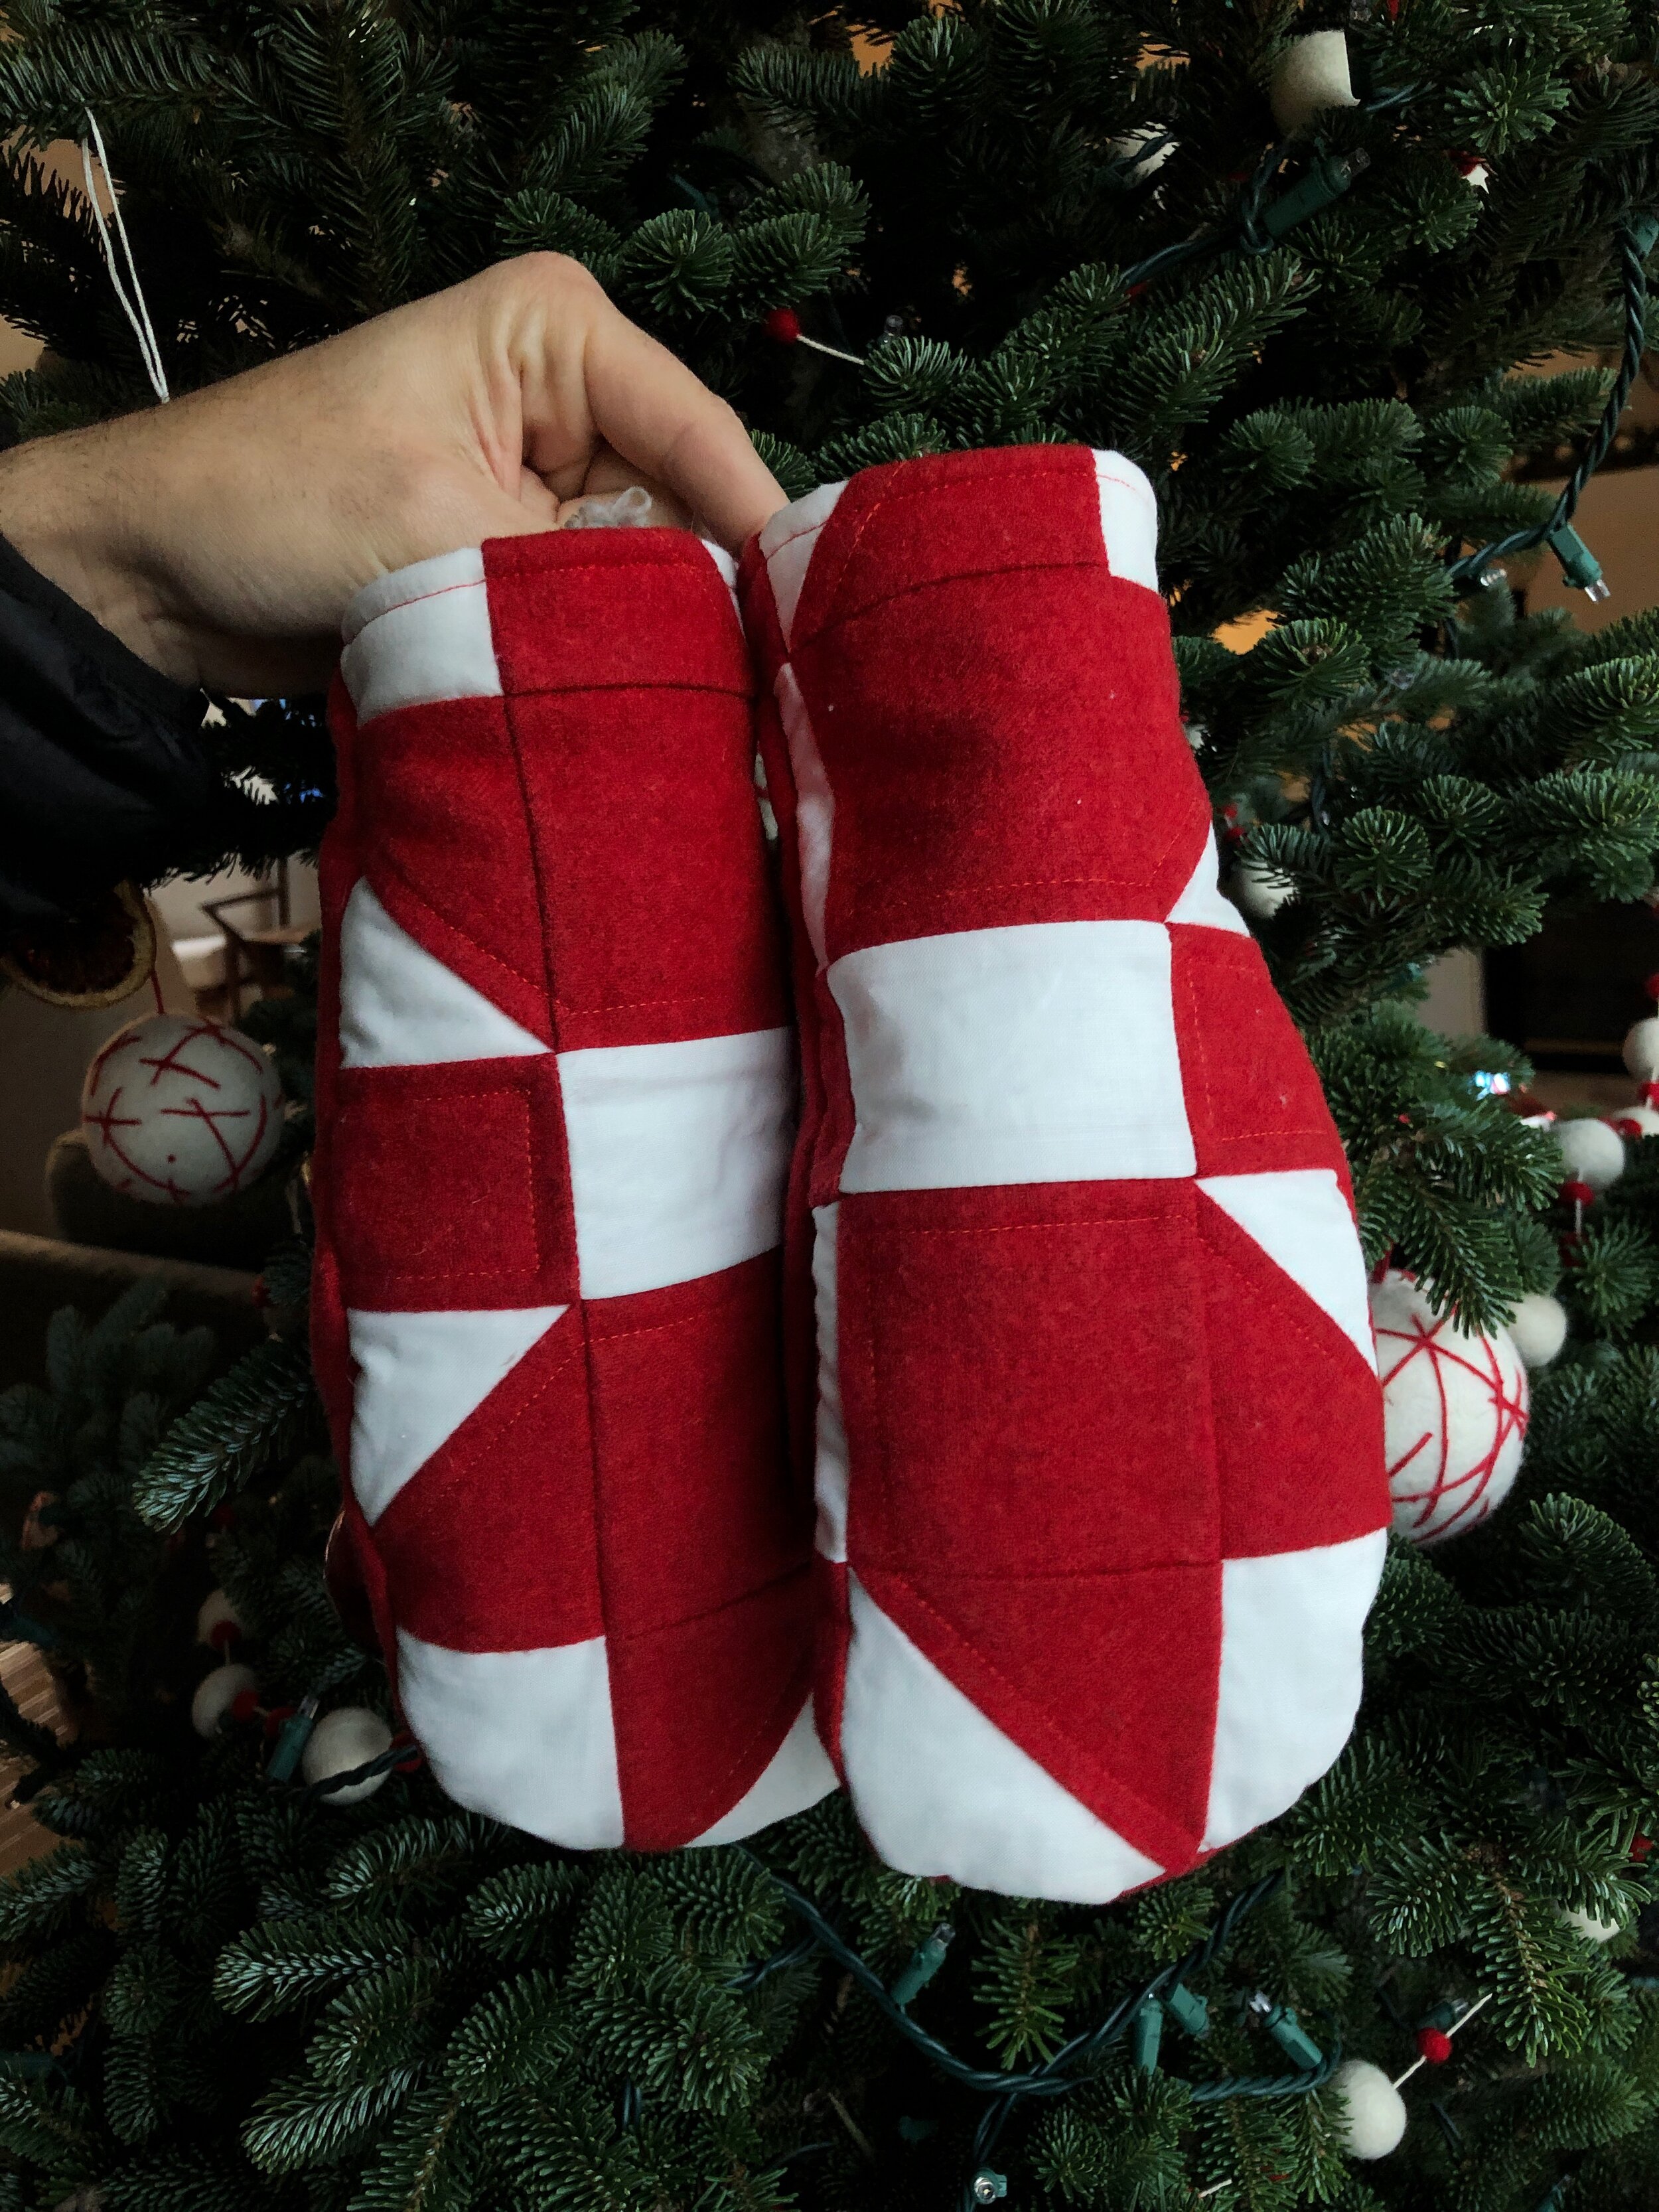
I have been making mittens based on modern quilt patterns I have been crushing on but don’t have time to make in full. This way I get to have fun making a single block without adding another big project to my never-to-be-finished project pile. My first pair of quilt mittens was patterned after the Christmas Joy Quilt by Brittany of Lo & Behold Stitchery. The Christmas Joy Quilt caught my eye a few years ago for its simple beauty and classic, minimalist Christmas charm, so when I started looking for a quilt to make into mittens, I knew this would be my first.

FullSizeRender.jpg

After that first pair, I couldn’t wait to make more. I started mocking up possible quilt mittens in Adobe Illustrator. Some would be beautiful but much too complicated, like the Interwoven quilt by Lo & Behold Stitchery (middle bottom). Others are 100% on the docket. I just haven’t found time yet! Make sure to stop back by, as I will keep adding inspiration pictures to this post as I stitch up more quilt mittens.

Quilt mitten mockups:

  1. Reflections Quilt by Suzy Quilts

  2. Prince Quilt by Riane Elise

  3. Maypole Quilt by Suzy Quilts

  4. Guest Pillow by Riane Elise

  5. Gathering Quilt by Riane Elise

  6. Sola Quilt by Riane Elise

  7. Stone + Bloom by me

  8. Interwoven Quilt by Lo & Behold Stitchery

  9. Grid Quilt by Riane Elise

Quilt Mitten Ideas (for blog)-01.jpg


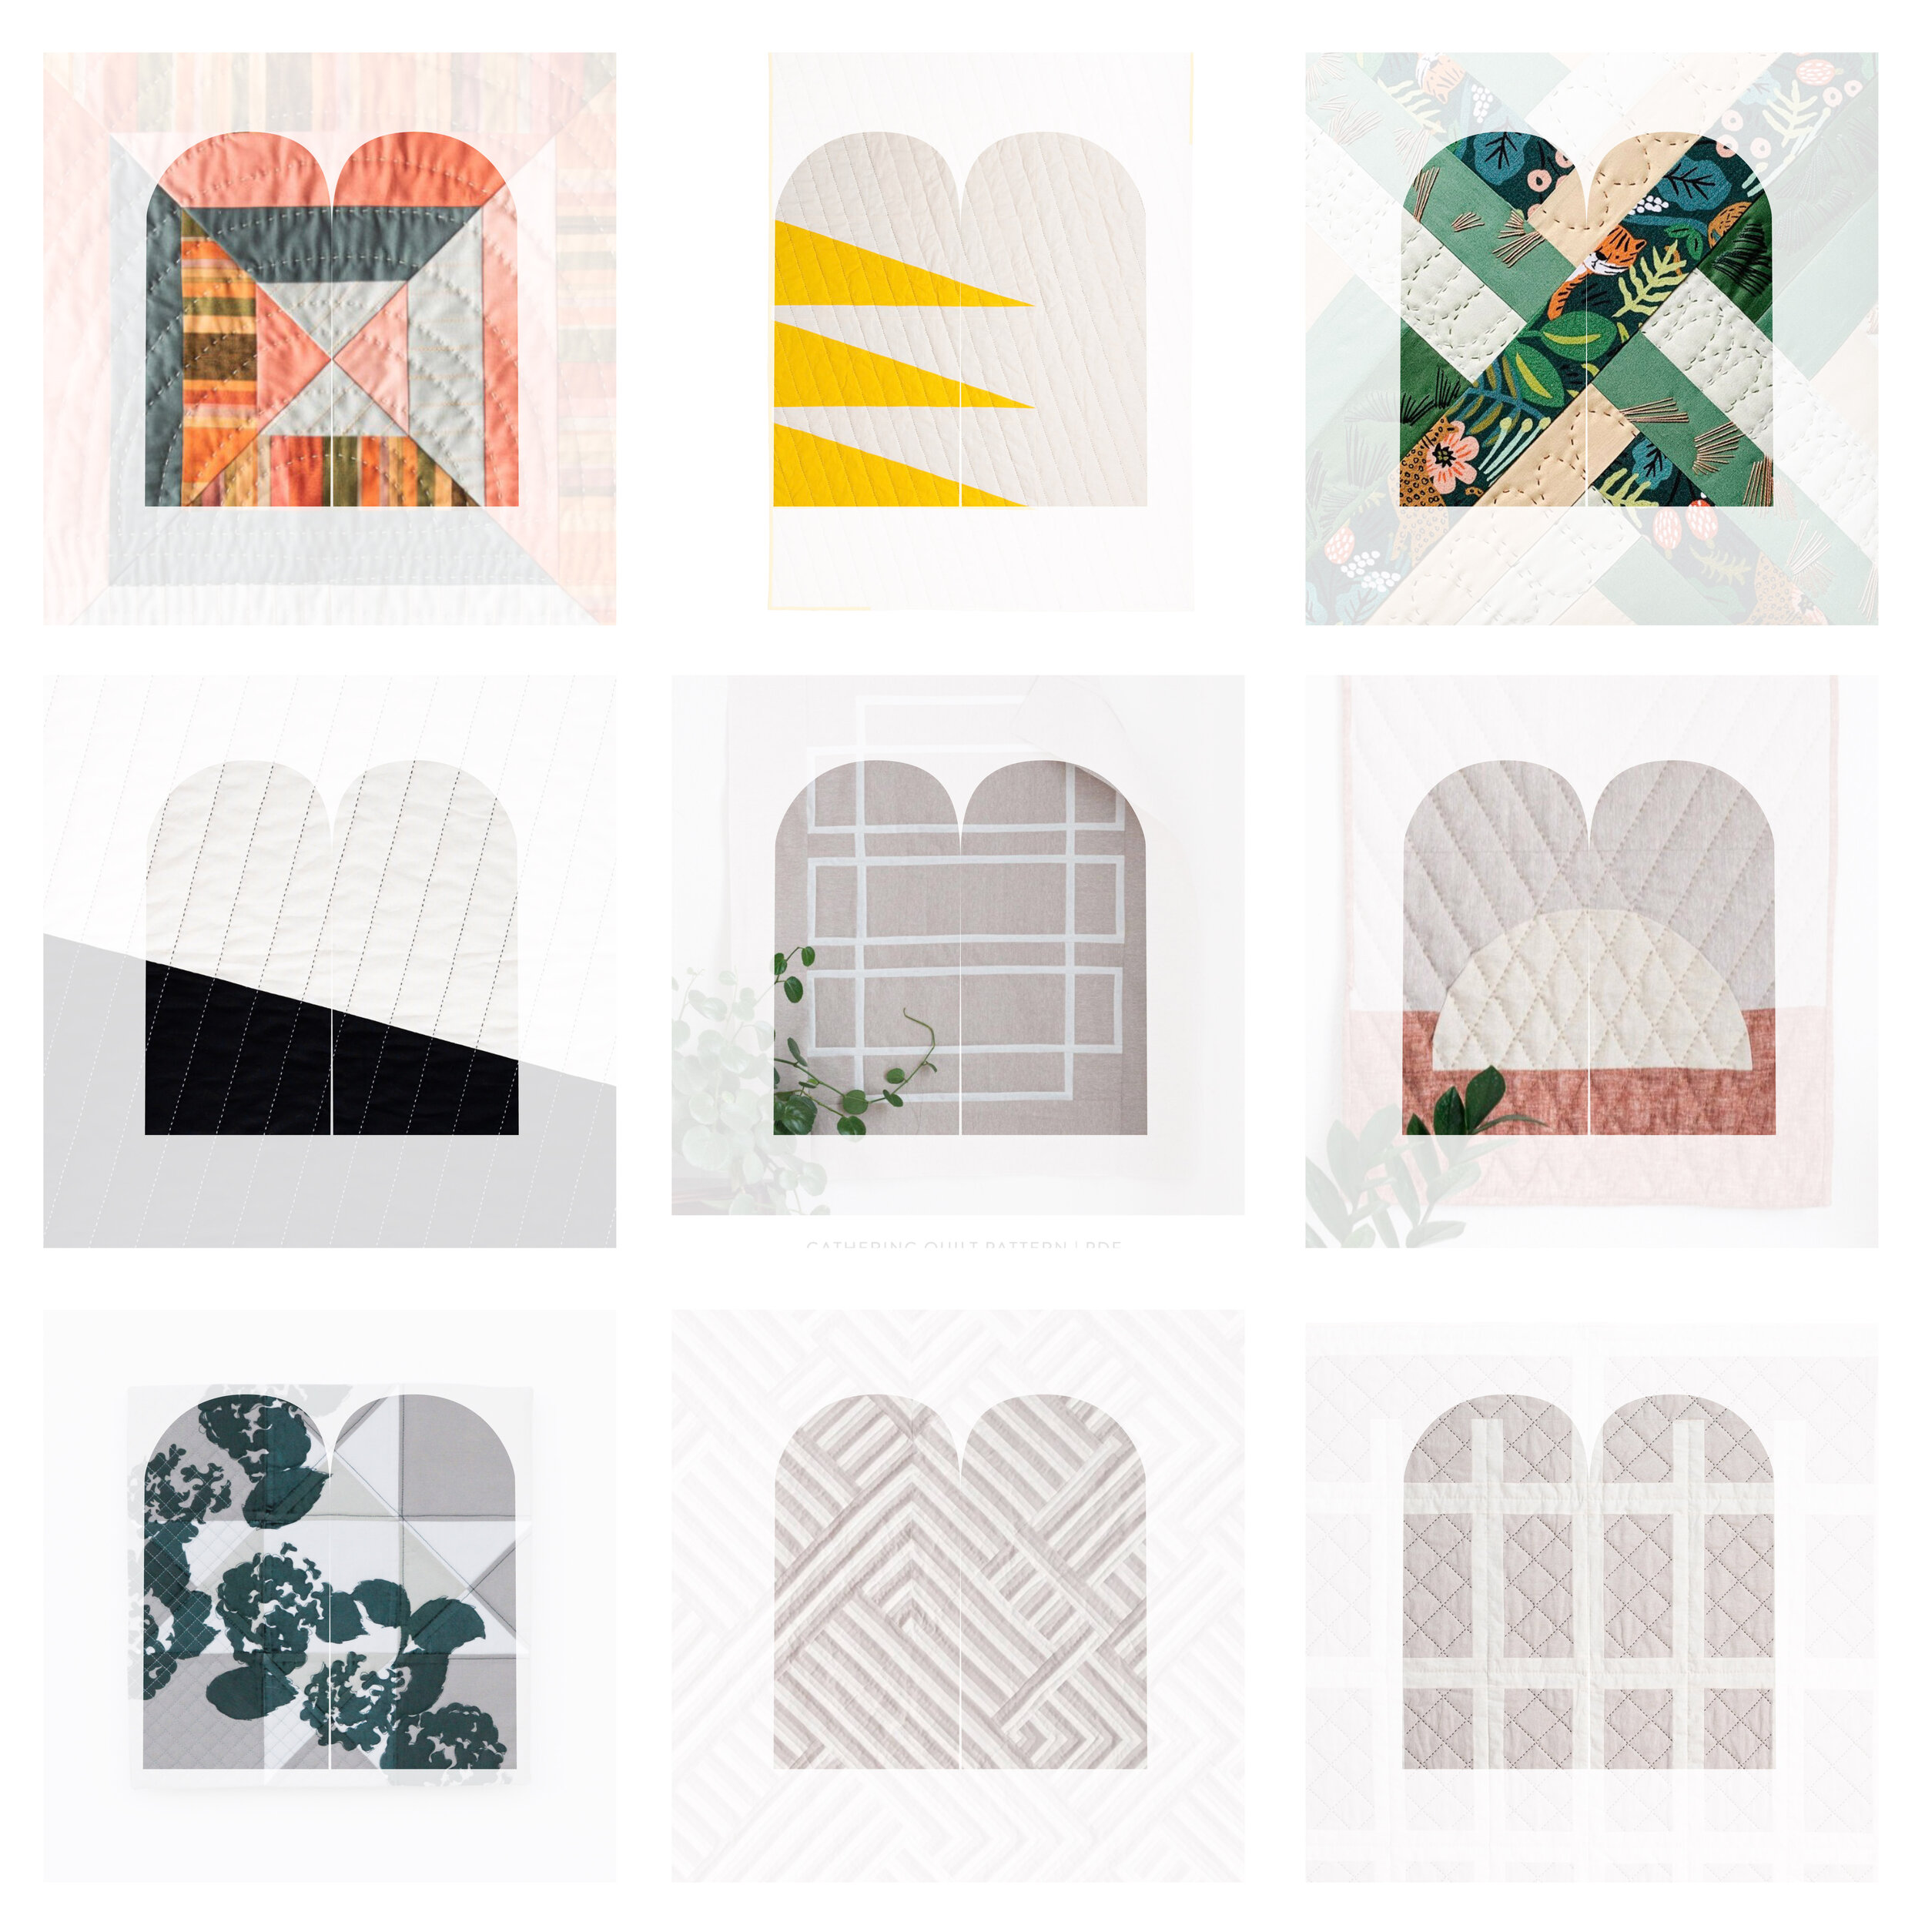
Can you tell I crush on Riane Elise quilt patterns a lot?


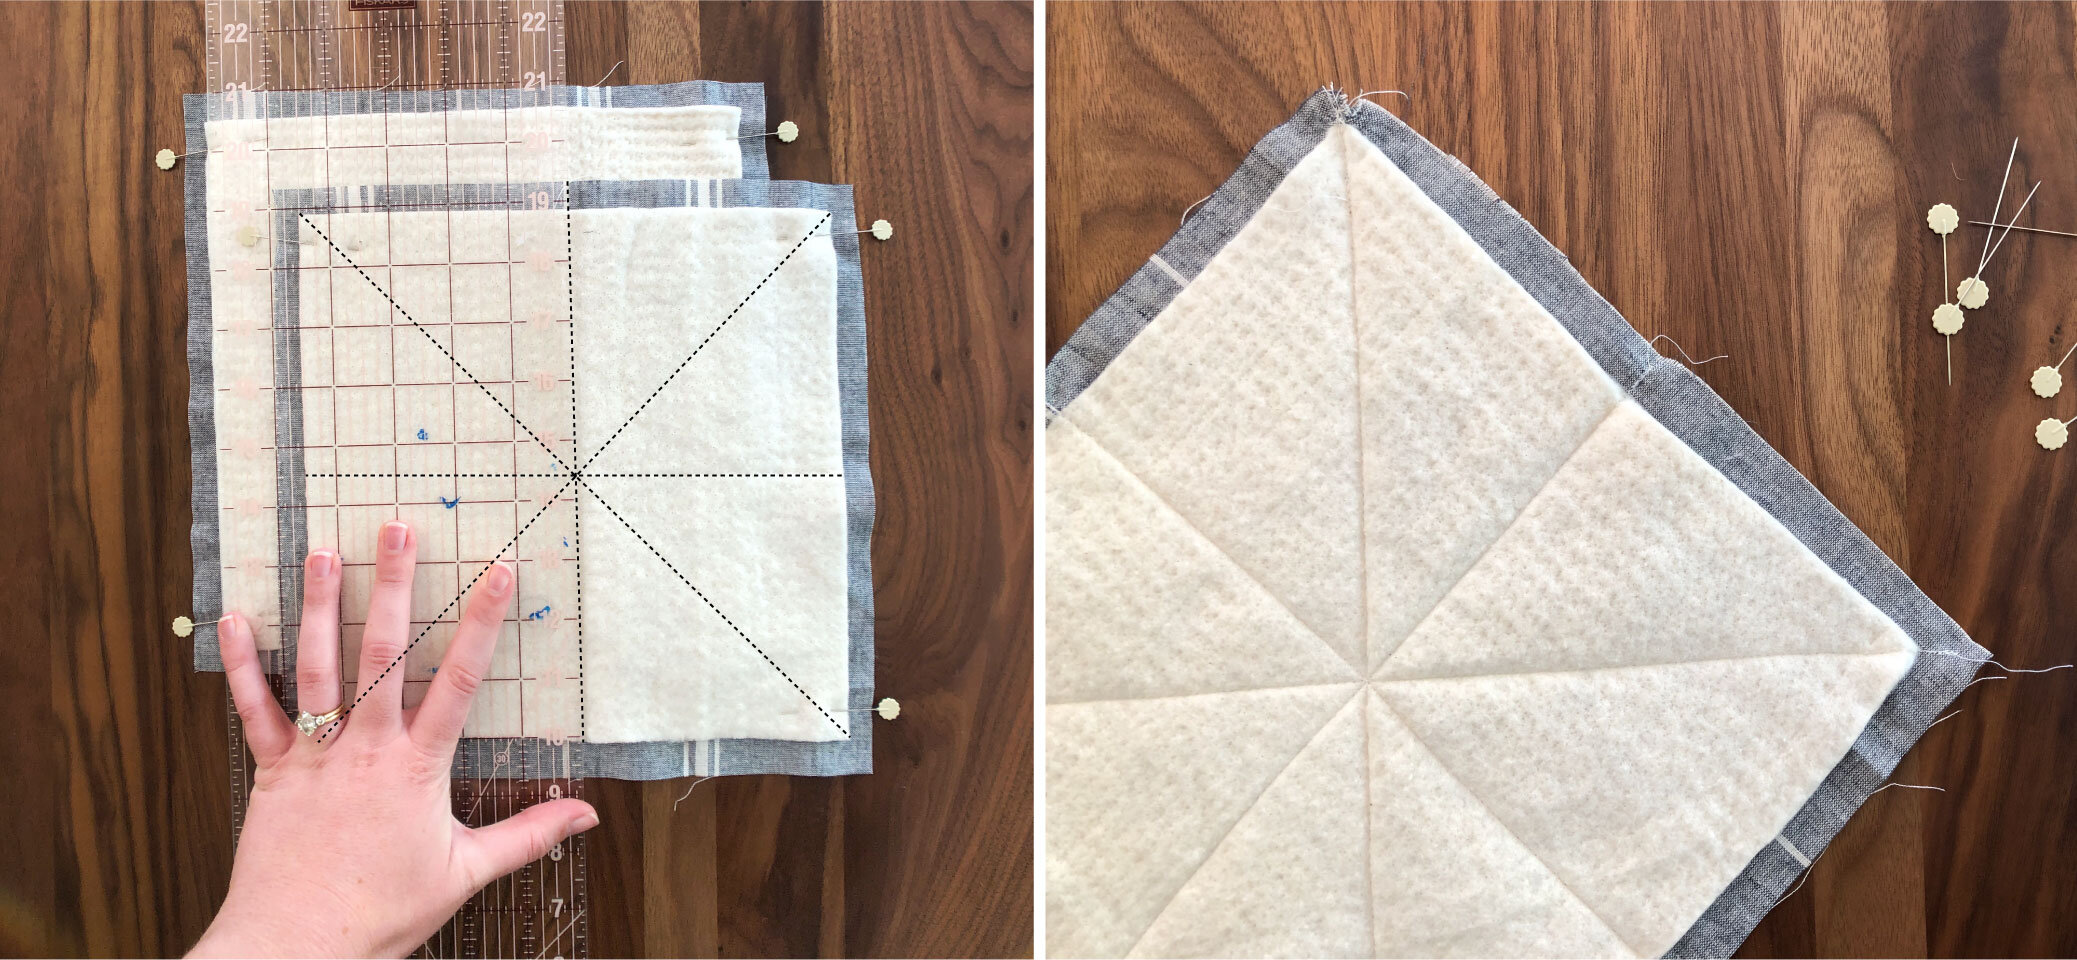
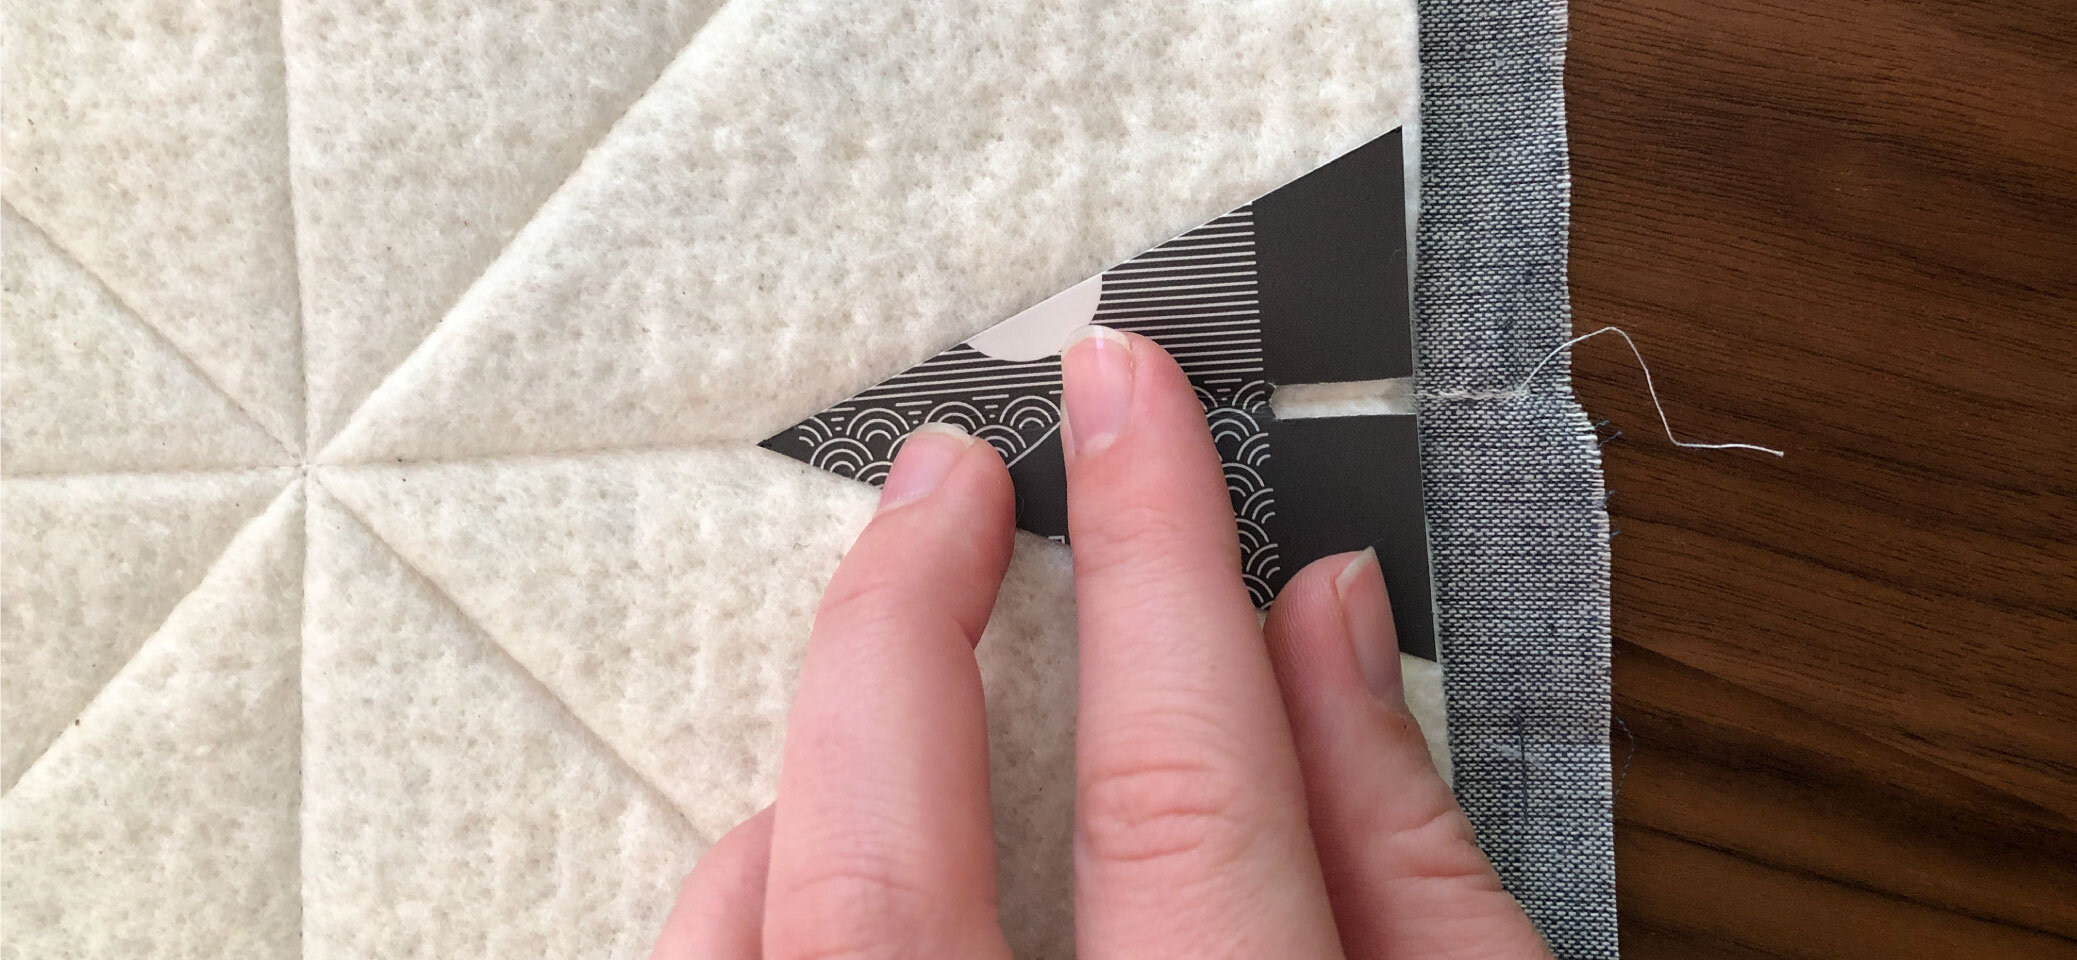
Composing Your Quilt Mitten

If choosing a more traditional quilt block, you’ll want to ask yourself two questions:

  • What size mitten am I making?

  • Do I want the quilt block to go off the edges of the mitten?

Typically in graphic design, I am a big fan of full-bleed: images that go right to the edge of a page and designs that completely fill a shape with no border. However, when it comes to quilt mittens, it can be nice to have some breathing room in your composition that allows the quilt block to shine without its points being lost off the mitten edges.


Full-bleed Quilt Mittens

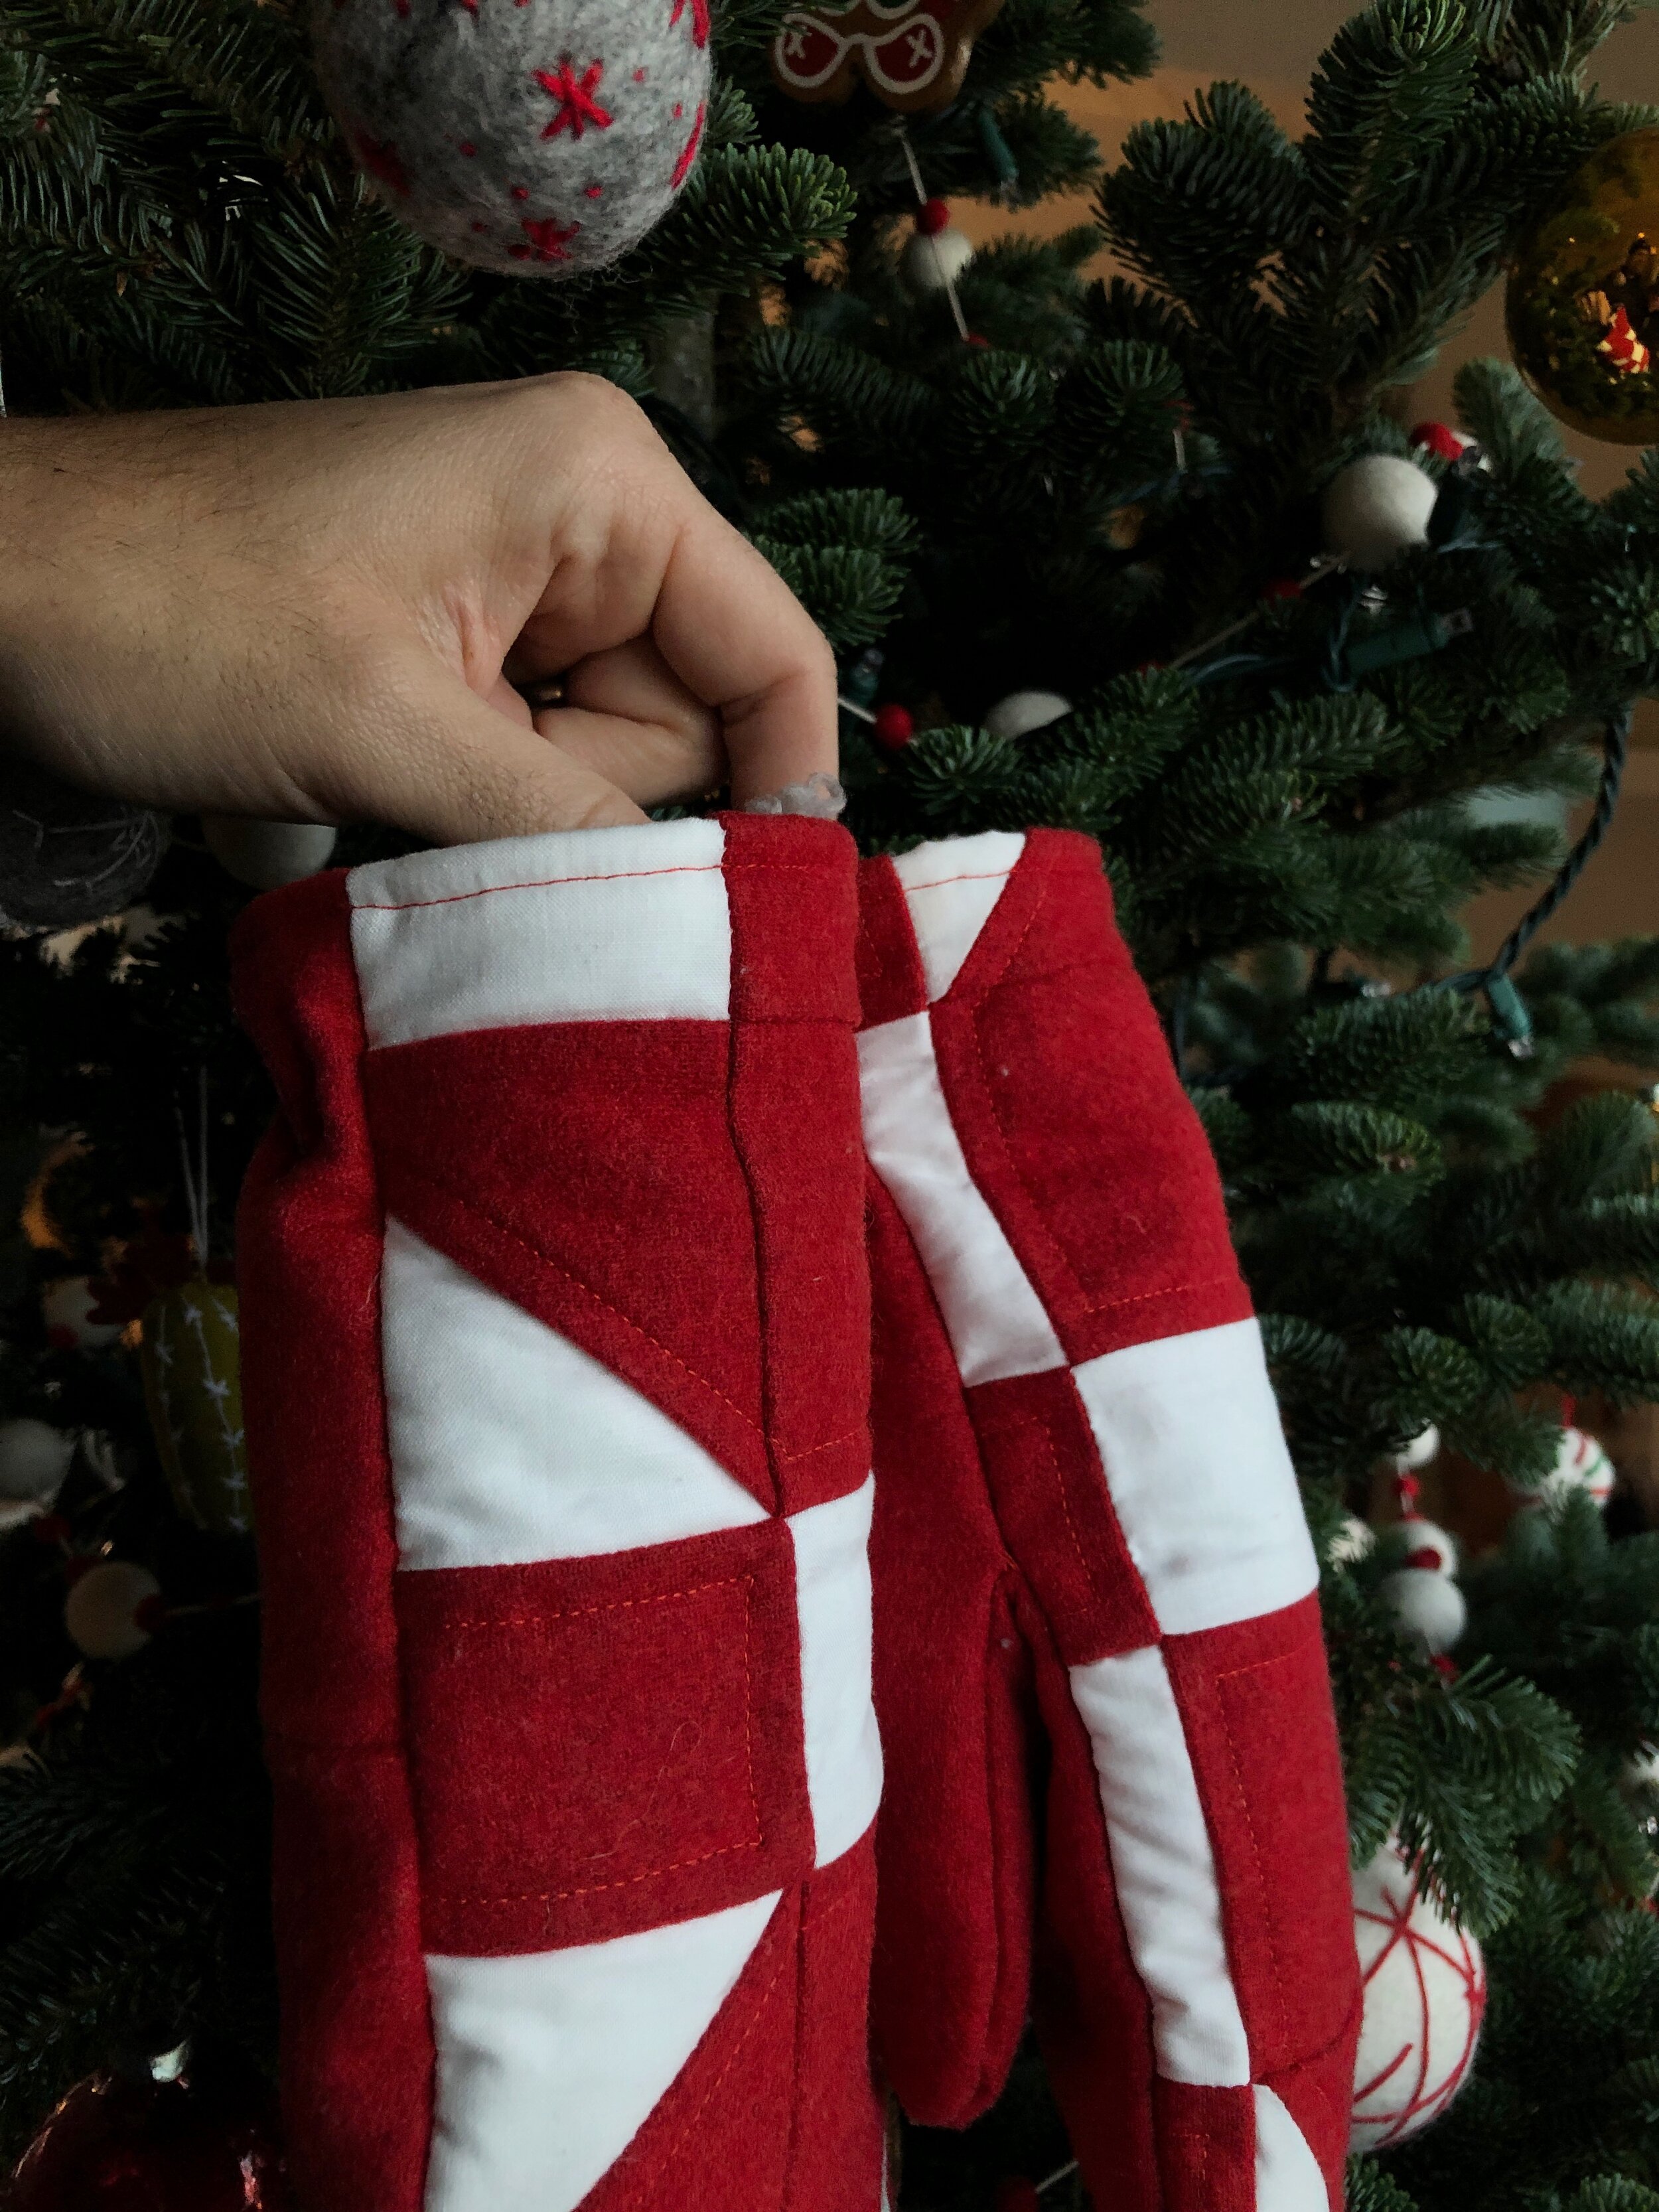
This first pair of Christmas Joy Quilt mittens that I made (below) the quilt block filled the whole mitten back and spilled over the edges.

IMG_6492.jpg
IMG_6429.jpg
IMG_6495.jpg


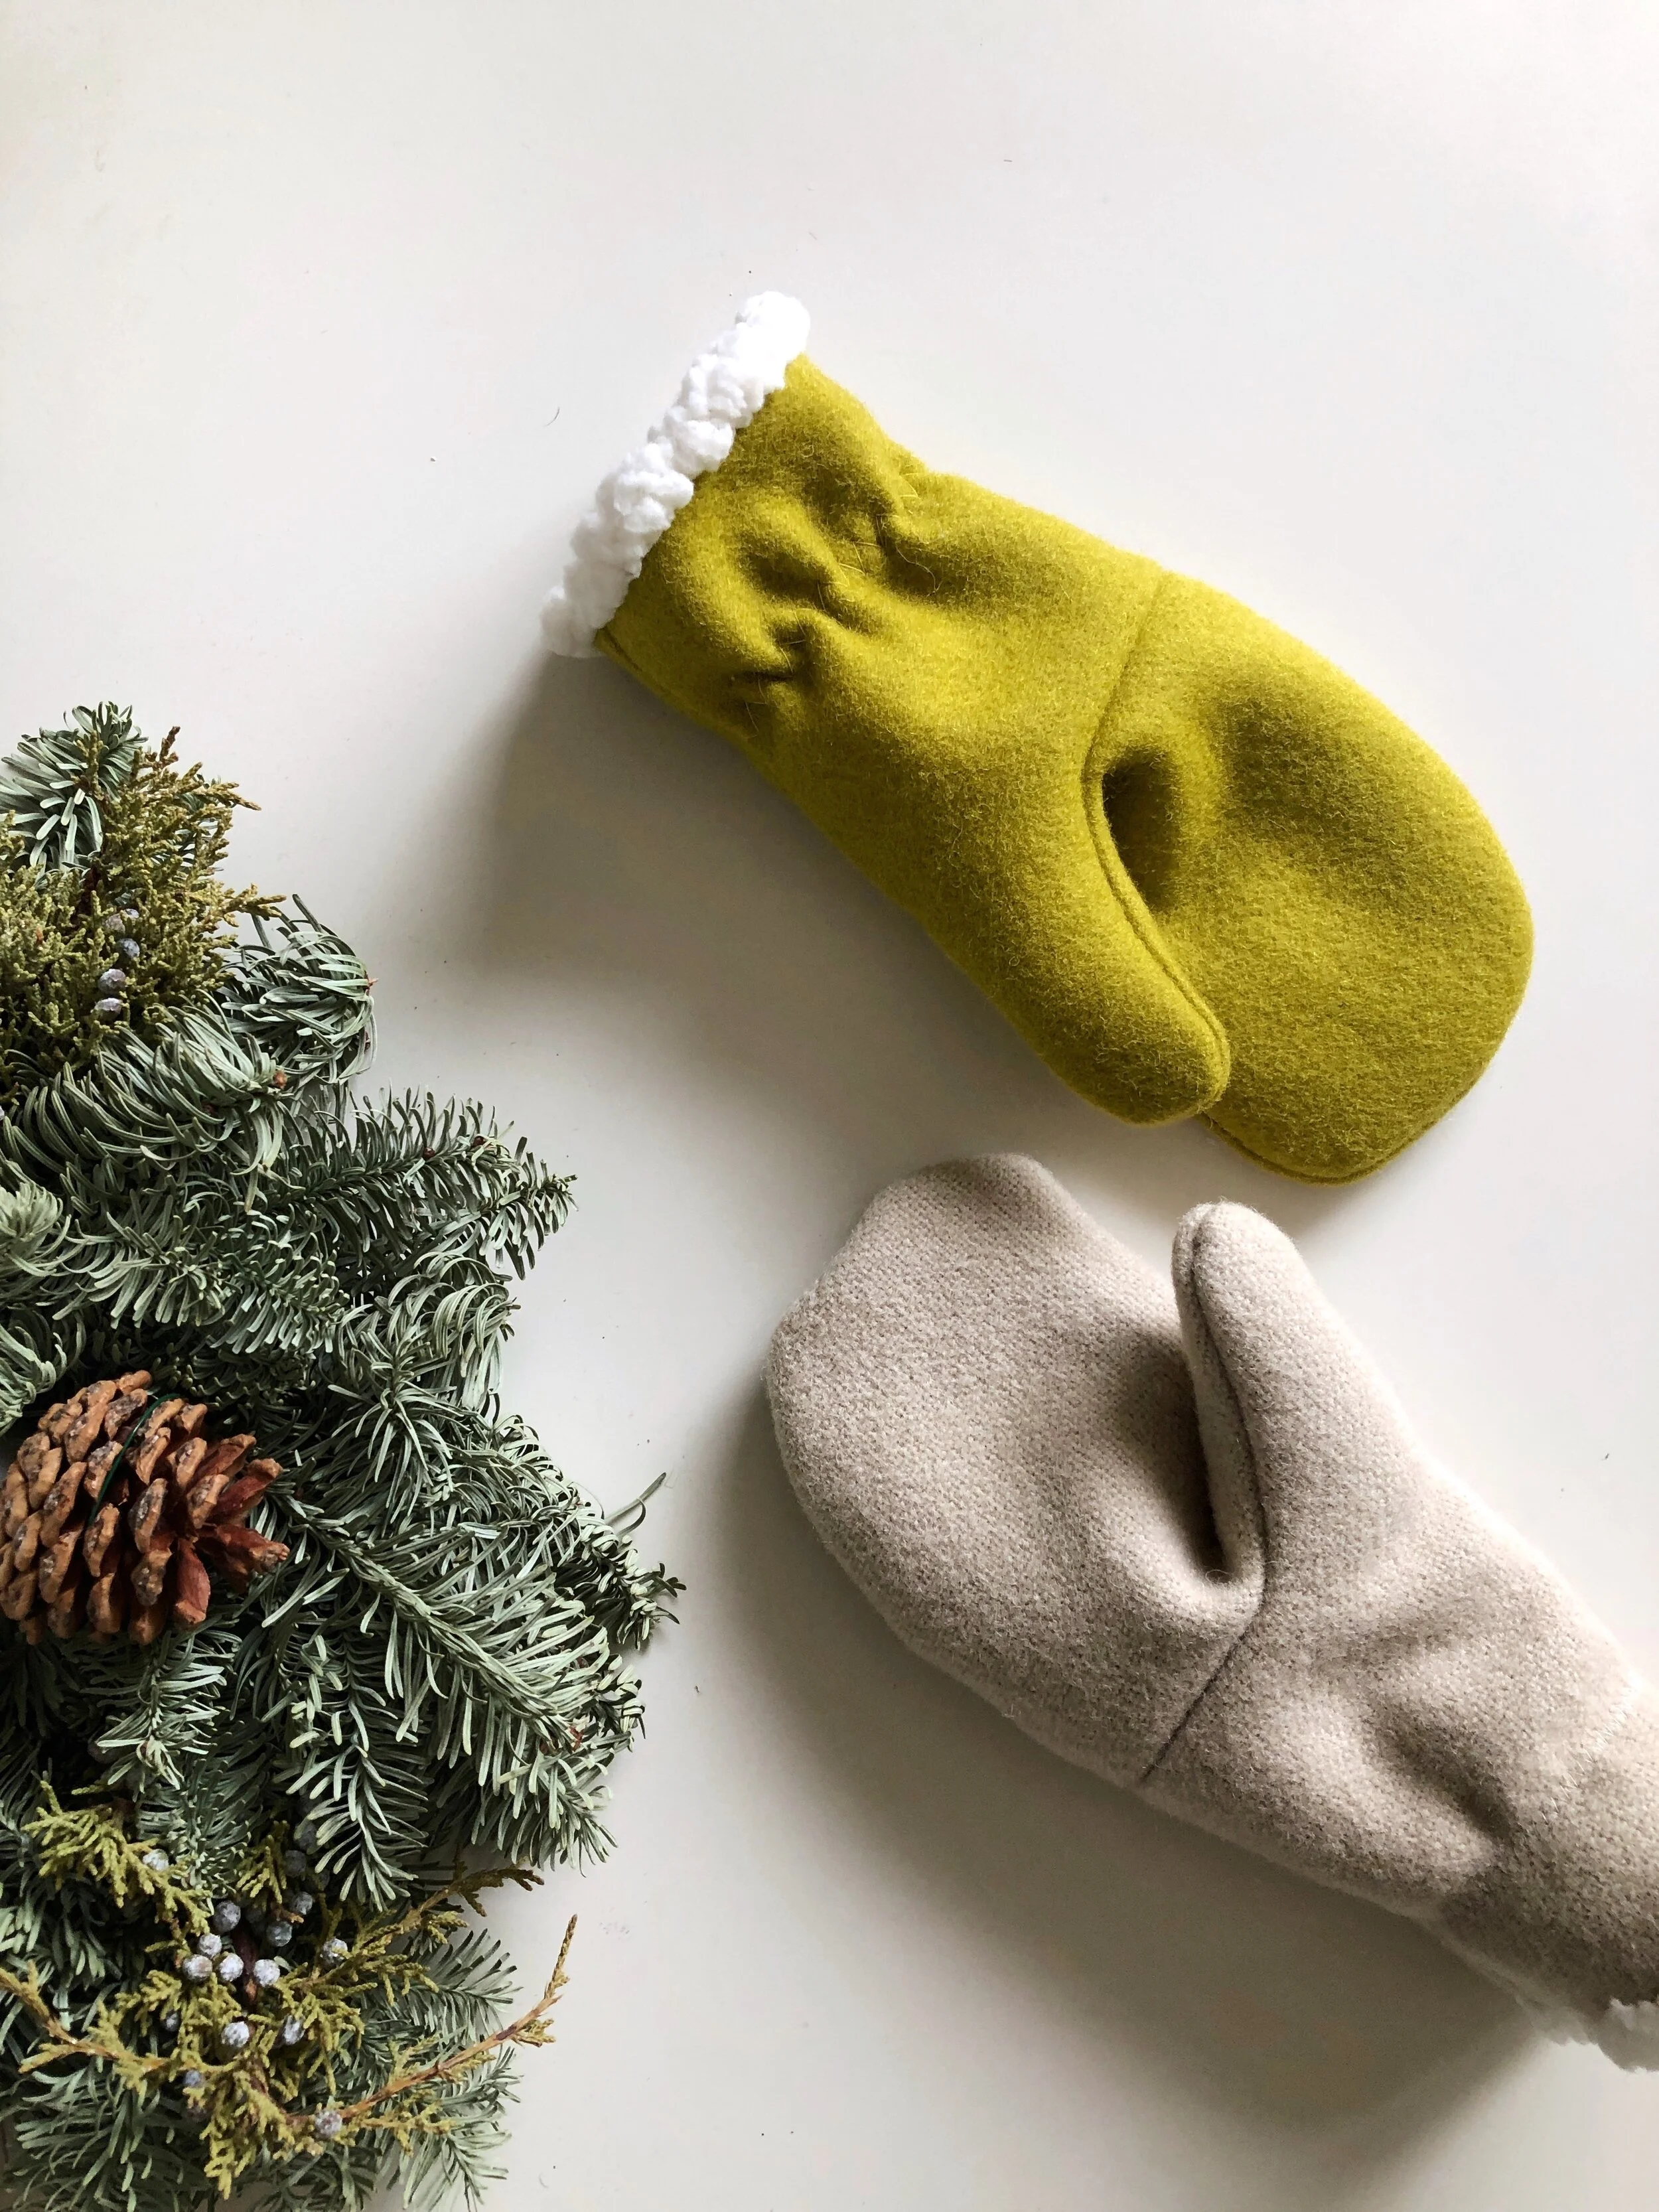
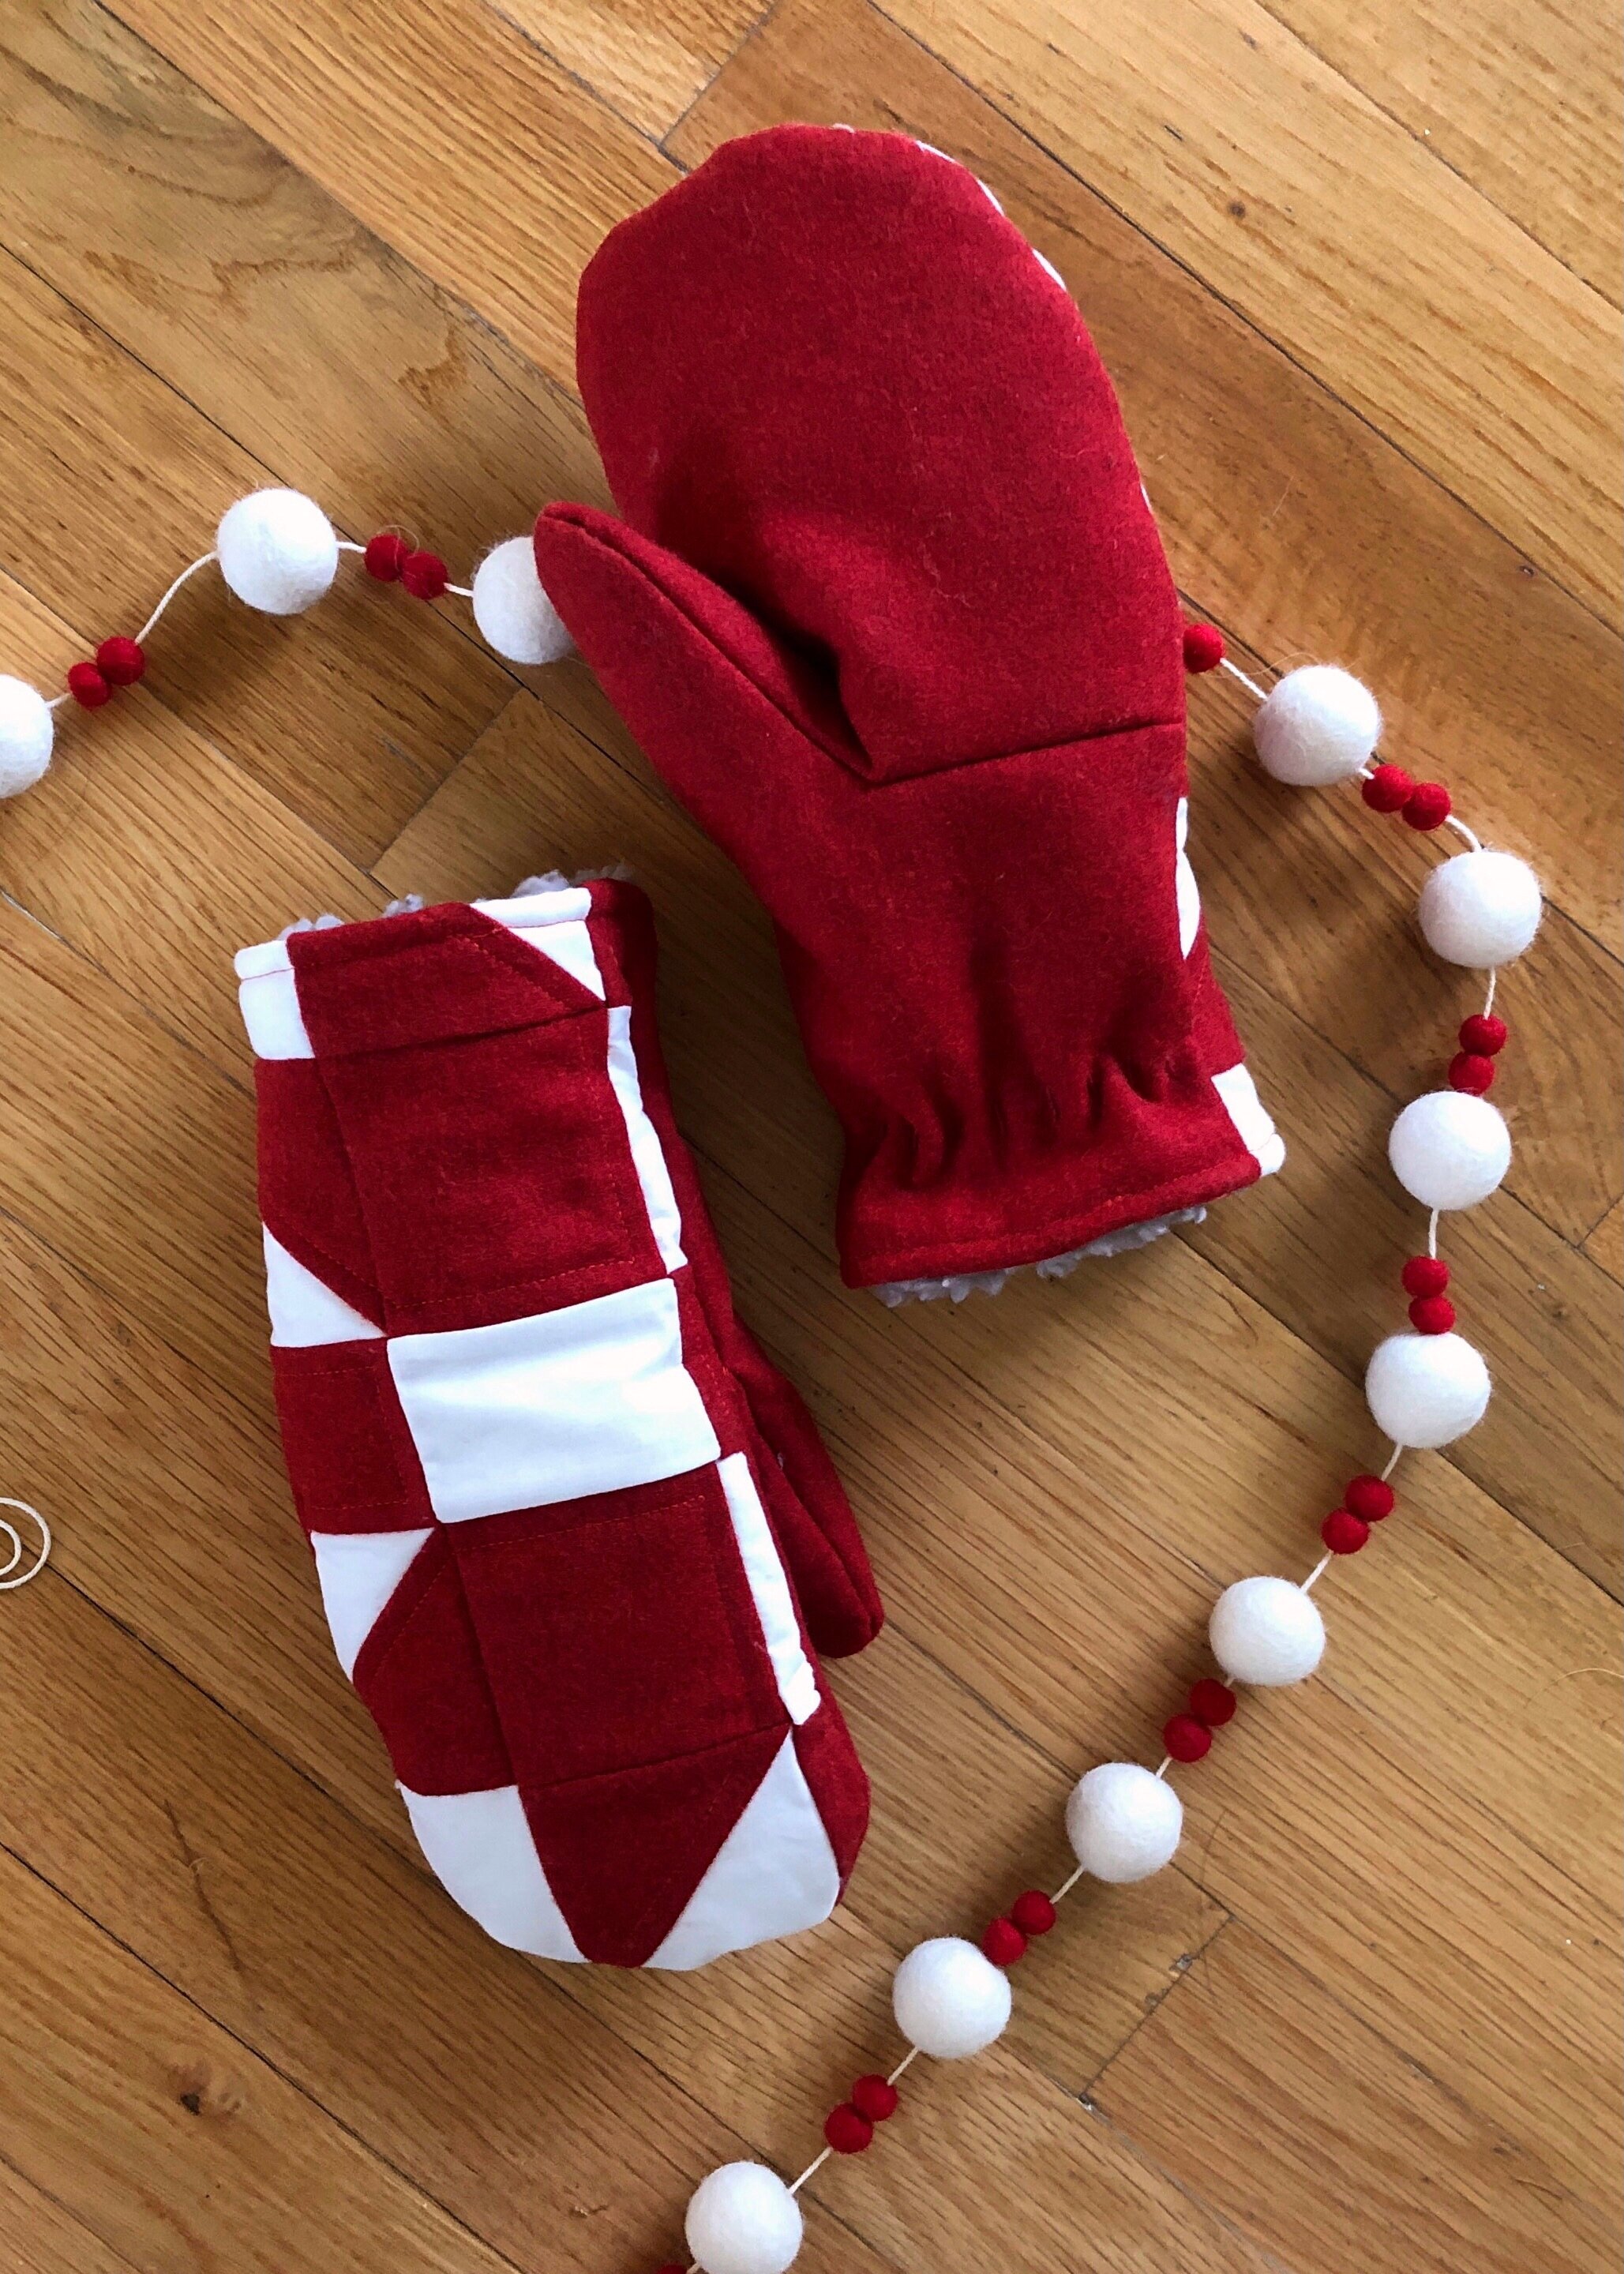
Quilt Mittens with More Negative Space

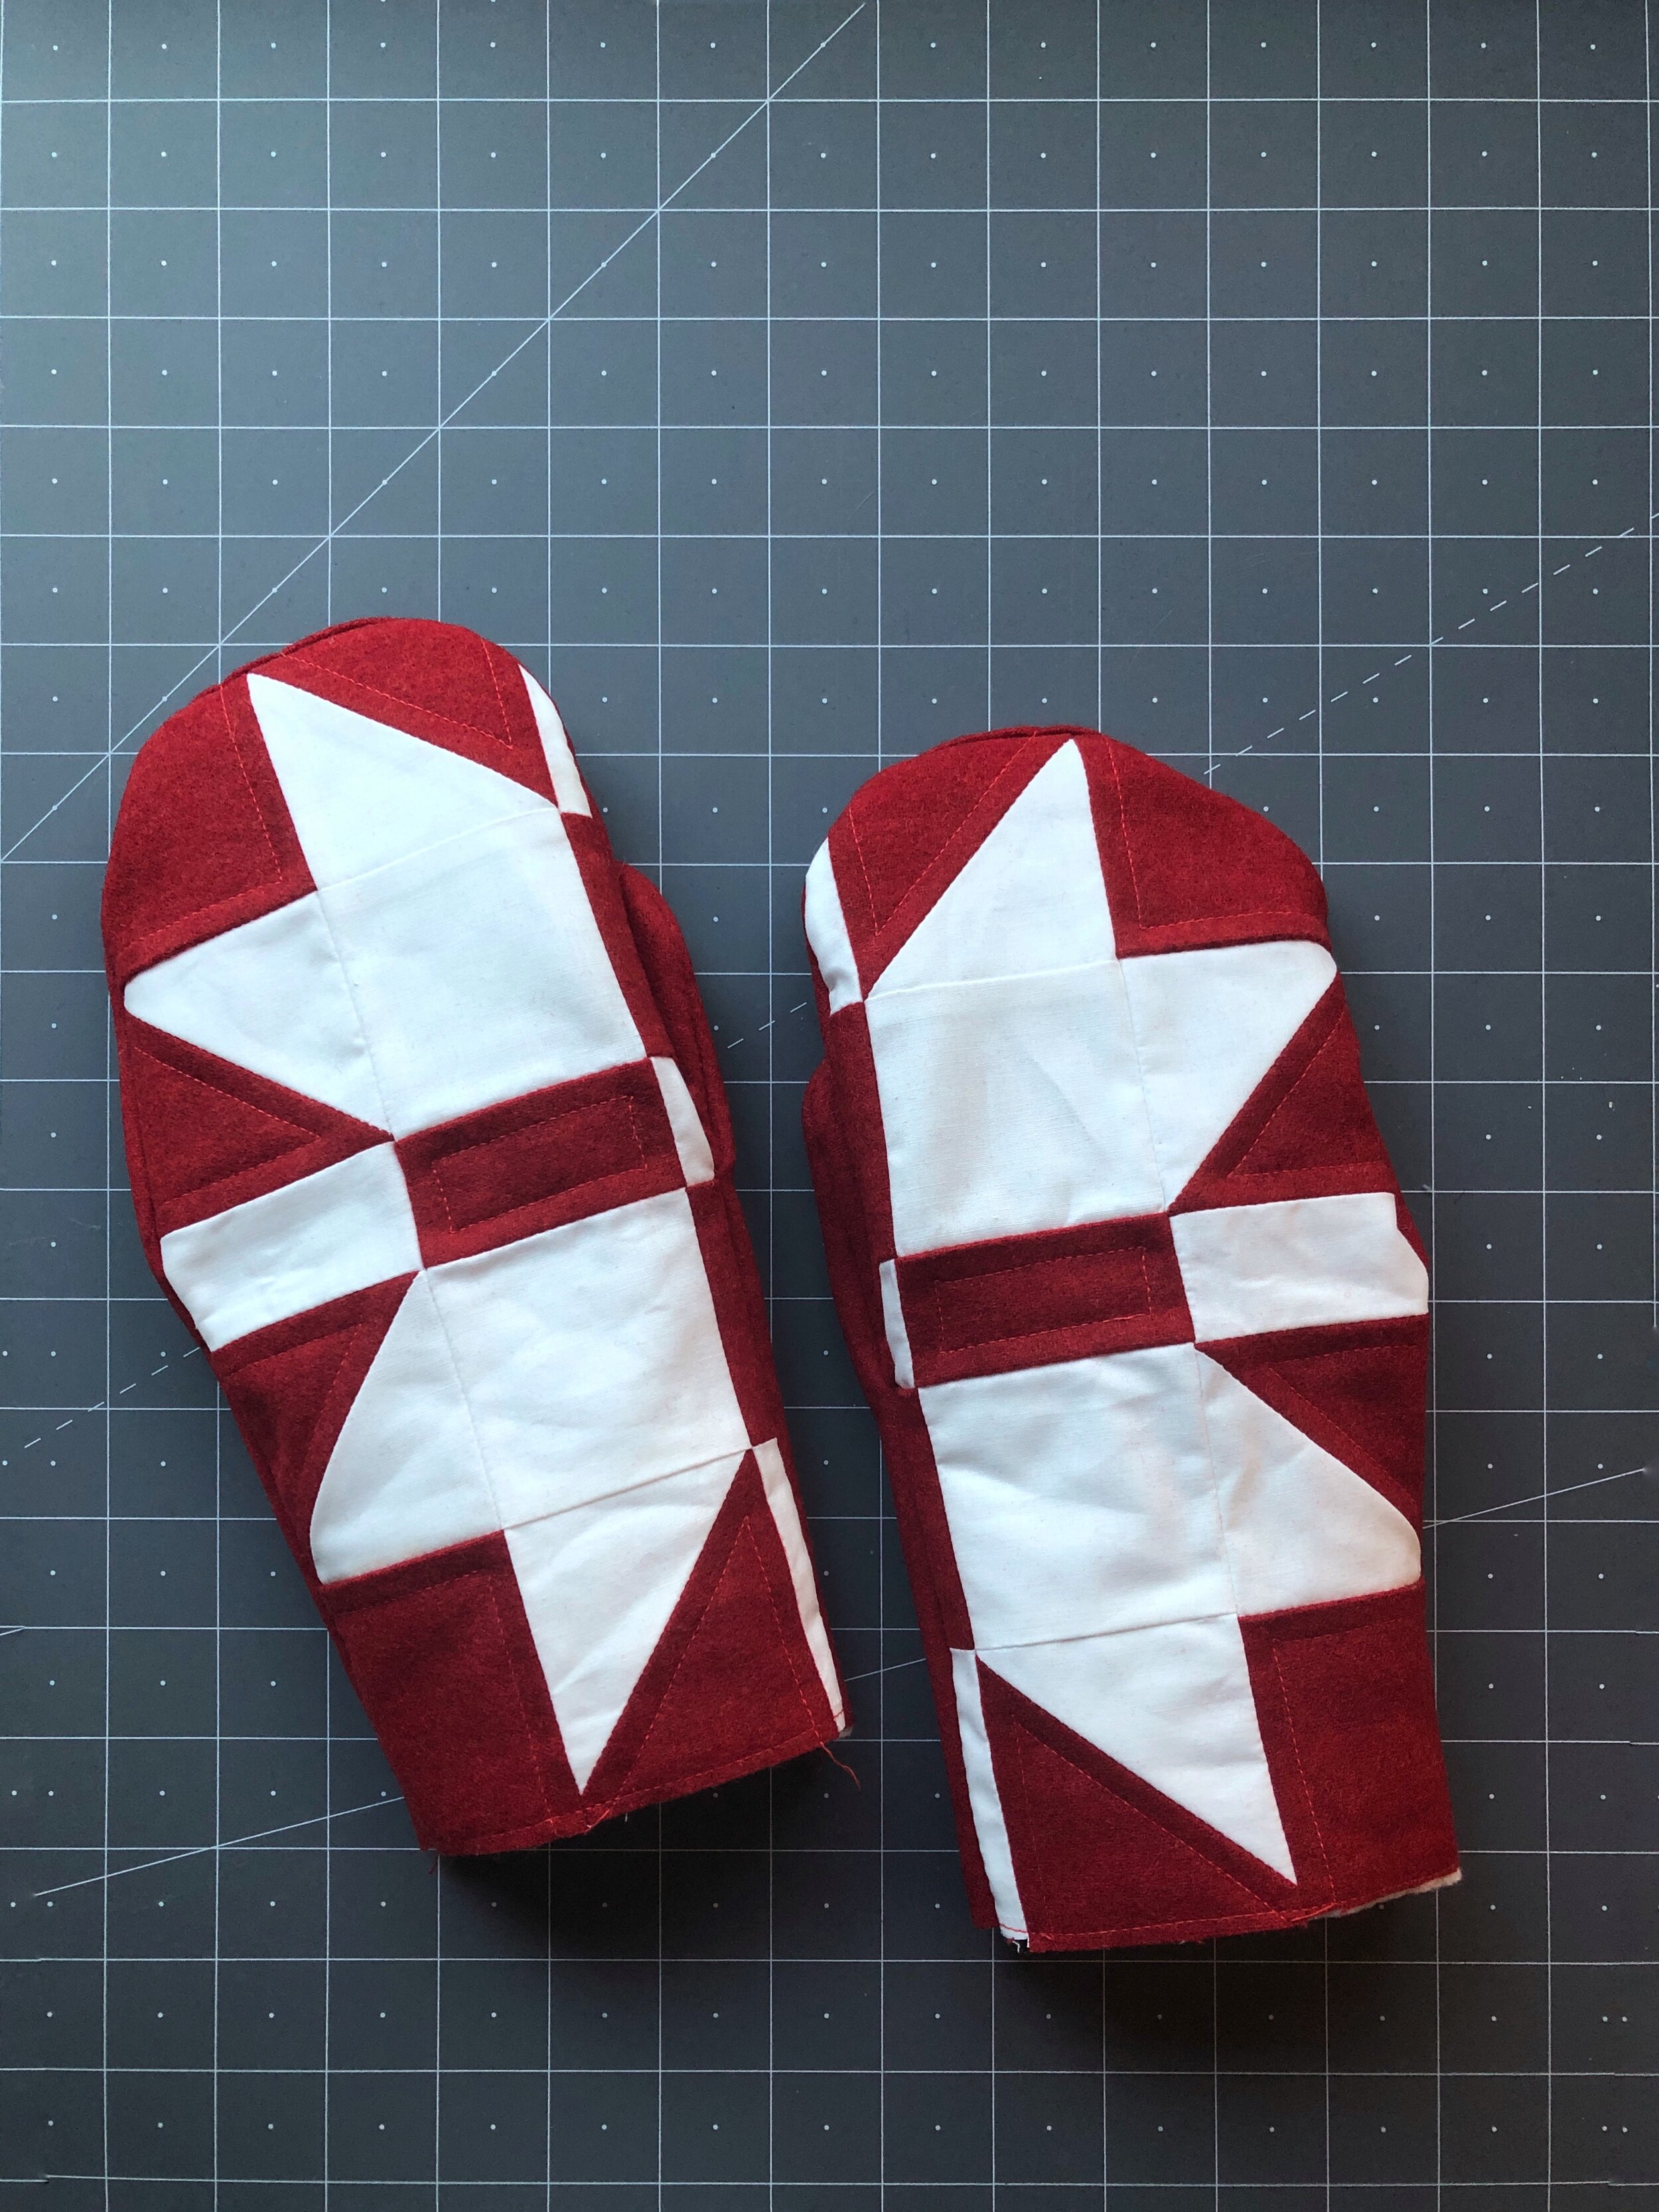
This second pair (below), I shrunk the block a bit, inversed the colors, and added a border so that the foreground of the block would float on the mittens with the background of the block seamlessly blending to the color of the palms of the mittens. Both are nice, just different!

IMG_6414.jpg
IMG_6412.jpg


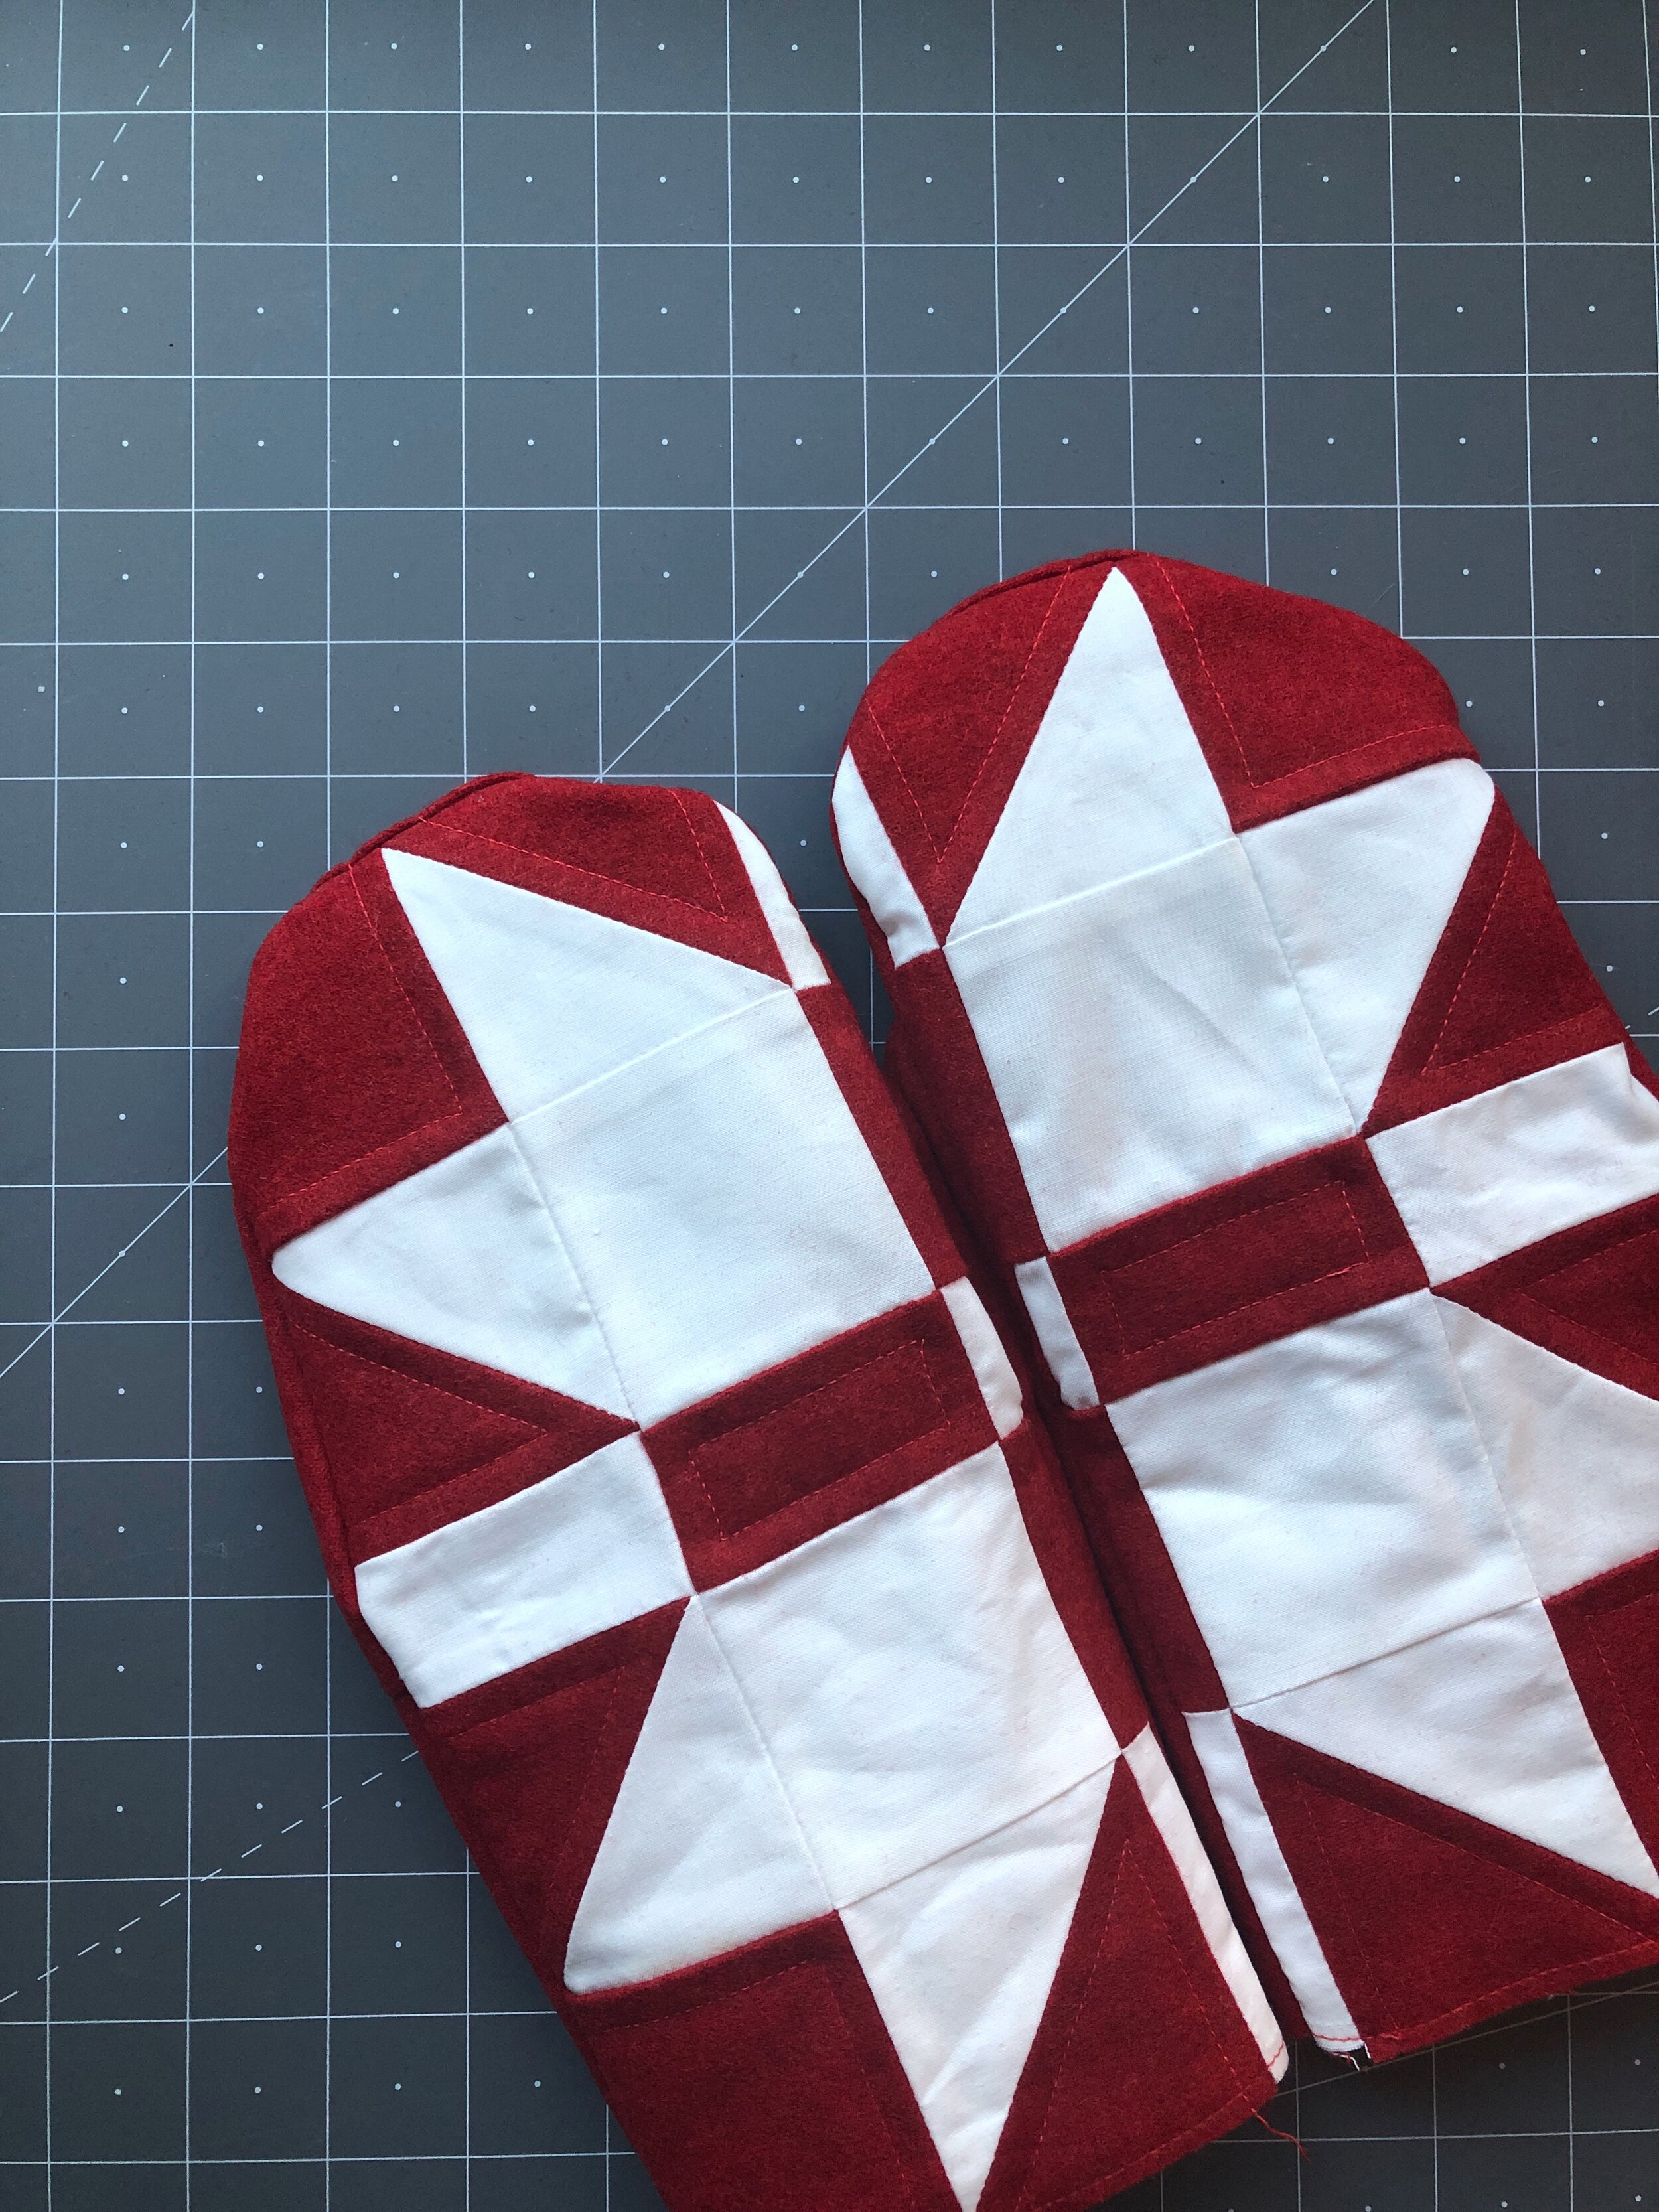
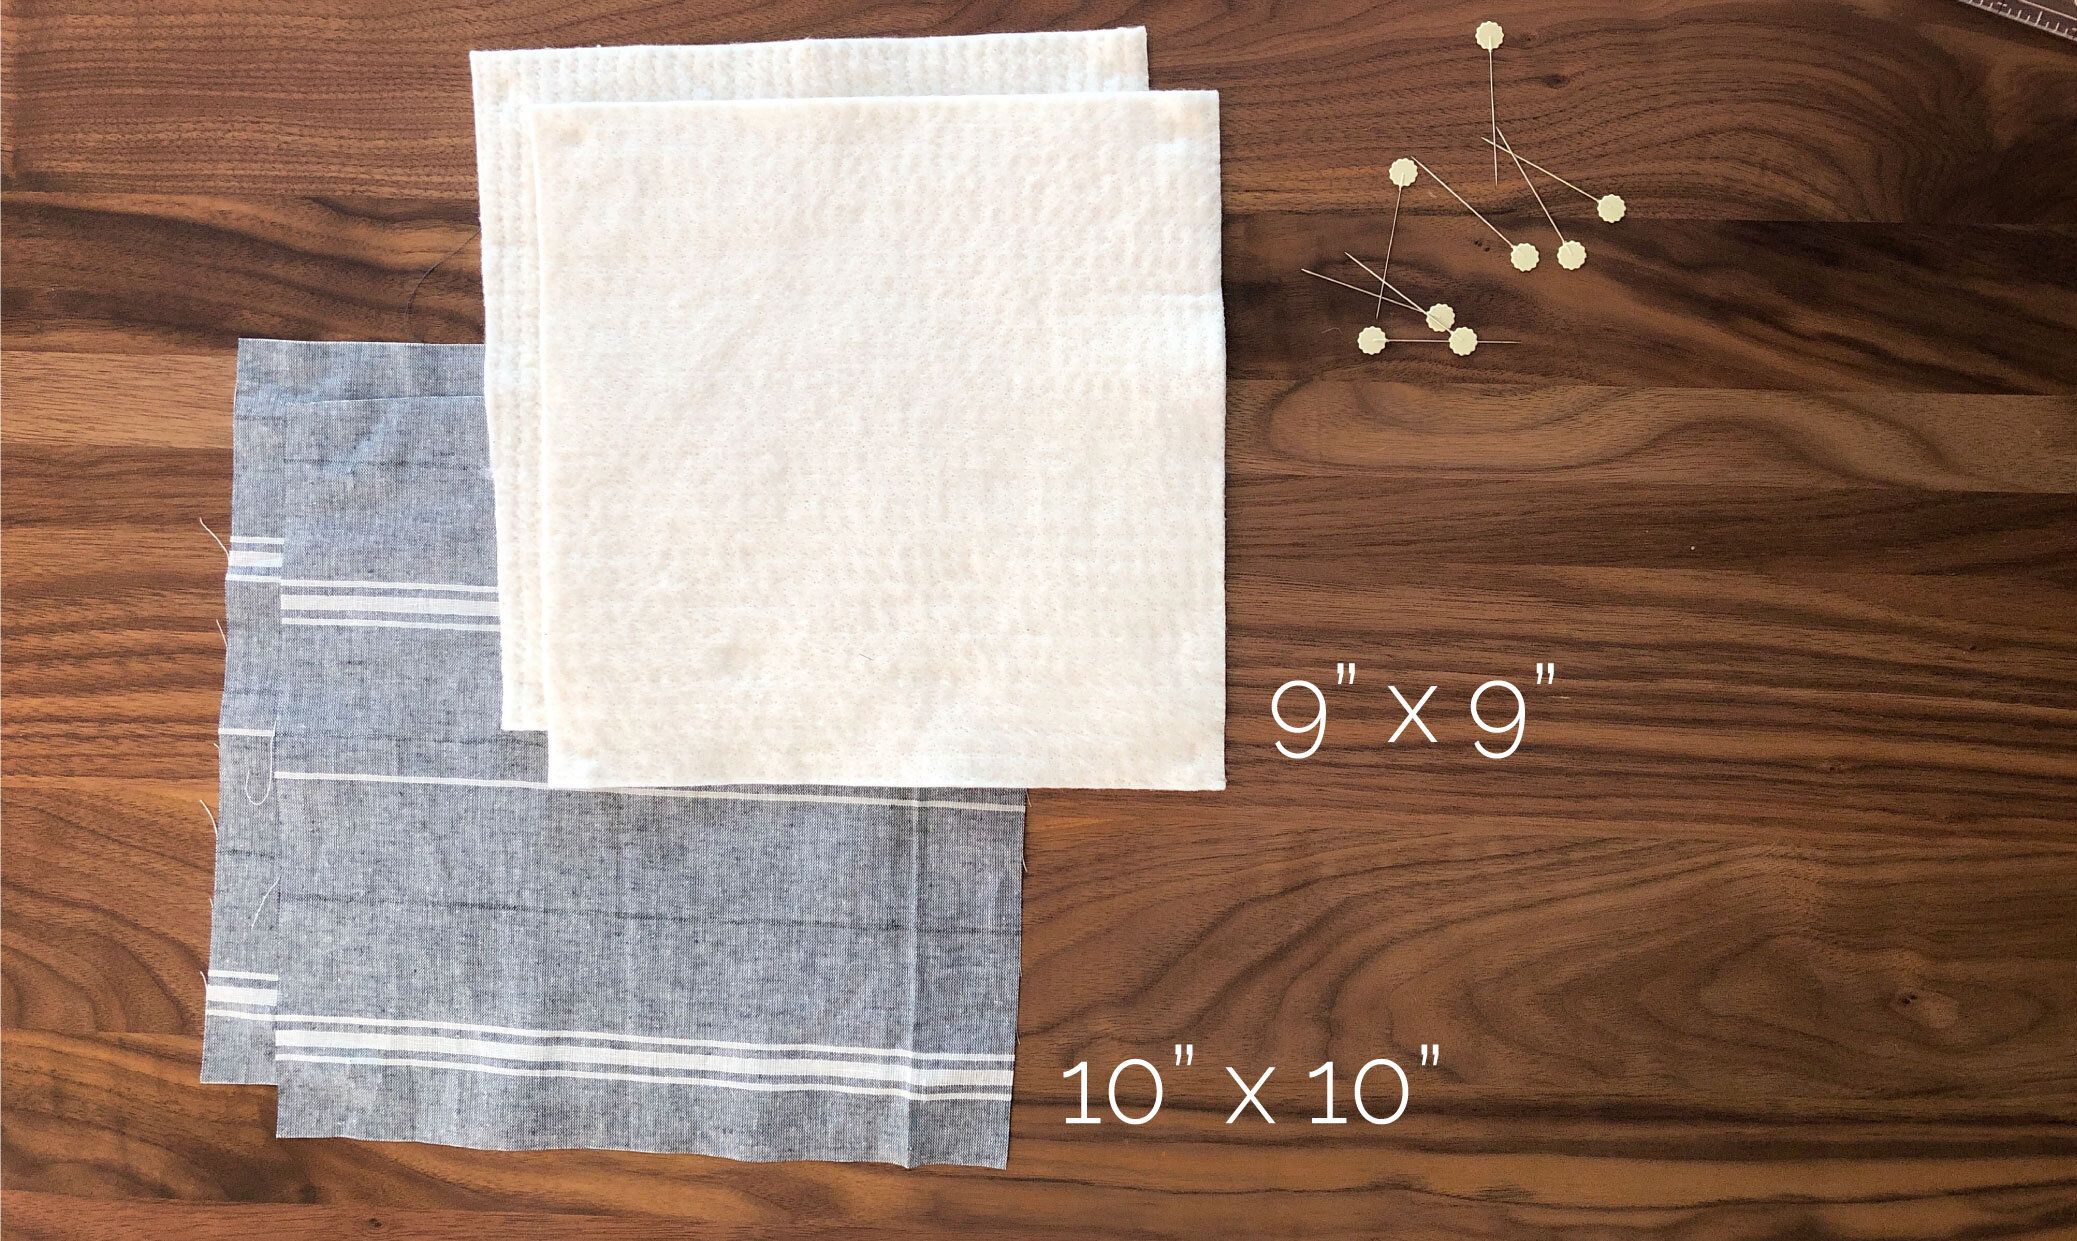
Sizing Your Quilt Block

For a large mitten, you will need a 12” x 12” quilt block. Medium: 11” x 11”. Small: 10” x 10”. However, if you want the whole quilt block to be visible on your mittens, consider sewing a quilt block that finishes at 9” x 9” or less. Then add a border to each side of the block to achieve the size block you need for your chosen size of mitten.


More Quilt Mitten Inspiration

After finishing my Christmas Joy Quilt mittens, I knew my next pair would be with my extra Shine Quilt block. I am still not finished with that whole quilt, but since I am using a combo of wool fabric and peppered cotton, I wanted to make sure the finished quilt would wash well. I took one of my blocks, sandwiched and quilted it, then threw it in the washer and dryer. What resulted was crinkly goodness! No issues with odd shrinking or felting. It also left me with a single crinkly Shine Quilt block: perfect for a quilt mitten!

IMG_6440.jpg


Quilt Mitten Tutorial

If you’re ready to make your quilt mittens, pop over to my Quilt Mitten Tutorial on the Lo & Behold Stitchery blog. In that post, I detail how to incorporate your chosen quilt block into your mittens. Note that you will need to purchase my Adult Mitten Pattern to download the mitten pattern pieces and the instructions for constructing the non-quilt part of your mittens.

To check out other people’s quilt mittens, you can peruse #QuiltMittens and #LovelyEnoughMittens on Instagram.

Quilt-Mittens-Lovely-and-Enough-01.jpg

Mitten Sewing Pattern – Cozy and Quick Handmade Gift

Sew a pair of warm, cozy mittens for you or for a gift.

Are you looking for a last-minute handmade gift for a friend or family member? Perhaps you would like to get ahead on Christmas gifts this year? You have come to the right place. Mittens are the perfect gift for anyone living in less than balmy climes: great for your parents’ aging hands, your teenager headed back to college, your trendy friend living in snowy New York City, or your friend tending chickens in freezing rural Saskatchewan. Warm and cozy with a simple silhouette, these mittens will look like a pair of bespoke mittens bought from an artisan market. Your giftee will be tickled and overjoyed.

Versatile mitten sewing pattern

Flexible to be sewn with new, scrap, or thrifted fabrics, this mitten pattern also includes alternates to accommodate preferences for finishing your mittens by hand or by machine.

Check out #LovelyEnoughMittens on Instagram to see examples of the beautiful and varied mittens people are making with the pattern.

Download your pattern and start making mittens for you and your loved ones today!

Materials for Sewing Mittens

(for a pair of mittens, any size)
my downloadable mitten pattern
– mitten fabric, ⅓ yd (wool suggested, woven or knit)
– batting, ⅓ yd (optional, cotton or wool)
– lining, ⅓ yd (any soft woven or knit)
– elastic, 8” (¼” – ¾” wide)
– embroidery floss and needle, if you choose to attach elastic and finish wrist by hand

Skill Level – Advanced Beginner

Cozy and quick mitten pattern for your or for a gift! | by Lovely and Enough
mitten-sewing-pattern-easy-lovely-and-enough.jpg
modern-mitten-sewing-pattern-lovely-and-enough.JPG
 

Make Mittens from Old Sweaters

Have you wandered through a craft fair and coveted the cozy patchwork mittens made out of old sweaters, only to flip over the price tag and experience sticker shock? Well, here’s your chance to make your own pair for a fraction of the cost. Swing by your local thrift store or pull an old sweater out of your closet that you never wear and get to work making your very own sweater mittens.

Sizing your sweater mittens

The stretchiness of the sweater will provide a more pliable mitten. This might feel looser than a mitten of the same size made out of woven fabrics. Thus, even if you are using a bulky lining fabric, like minky or sherpa, you probably don’t need to size up like you would otherwise.

That said, if you use a layer of batting, this will remove all stretch again, so plan accordingly. Adding a layer of batting can be nice to keep your hands warmer, especially if the sweater has a loose weave that could let through wind and cold drafts.

Felt your sweater before making

Another option for looser weave sweaters is felting. The easiest way to go about this is to wash your wool sweater in hot water and dry on high. The felting process makes the wool fibers open up (when hot) and then close around each other as they cool, creating a denser fabric. Take note that this will shrink your sweater and could affect whether you have enough material for your mittens. Check out this post at Instructables for more on felting sweaters.


Perfect Scrap Buster

This mitten pattern is a perfect scrap buster. The pieces can quite easily be cut out of scrap fabric from another garment project. Leanne of The Bristol Stitchery whipped up a beautiful pair of mittens from her garment sewing scraps. She used waterproof fabric for the exterior and double-lined them to make an ultra-warm and weatherproof pair of mittens. You can check them out and ask her more questions on her Instagram.

Beautiful mittens made using scraps from other garment projects. Mittens and image by Leanne of The Bristol Stitchery.

Beautiful mittens made using scraps from other garment projects. Mittens and image by Leanne of The Bristol Stitchery.


Quilt Mittens

Have you been ogling those quilt coats that are all the rage? Well, take it a step at a time and start with some quilt mittens! My mitten pattern is easily adapted to using a quilt block for the back of the hands. Check out the mitten below made with a Christmas Joy Quilt block.

You can find more quilt mitten inspiration on my Quilt Mittens post, as well as a free tutorial for pattern hacking my mitten pattern to make quilt mittens on Lo & Behold Stitchery.

IMG_6492.jpg
IMG_6430.jpg
IMG_6412.jpg
 

Tips for Sewing Your Mittens

As I have sewed mittens and experimented with the pattern, I have developed a few tips for success.

Tip 1: How to secure a long zigzag stitch in the seam allowance

Use a very wide and long zigzag stitch, as this helps to maintain the elasticity. However, using a very long zigzag stitch makes it tough to reverse at the start and the stop of the seam inside of the seam allowance. To remedy this, I came up with a little trick.

 In order to squeeze reversing a long zig-zag stitch into the seam allowance, start with your machine set to a very very short, wide stitch. Sew a handful of stitches in the seam allowance, reversing. Then lengthen the stitch to sew across the wrist, without cutting the thread. Finish the seam by shortening the stitch again and reversing in the seam allowance.

Modern-quilt-mitten-lovely-and-enough.JPG
modern-quilt-mitten-sewing-pattern-Lovely-and-Enough.jpg
IMG_6194.jpg
 

Tip 2: How to create a neat, secure seam at the base of the thumb

Start by pinning the thumb to the thumb-palm seam so that you don’t accidentally sew it into the edge seam. A binding clip or straight pin is perfect for this job. In order to more easily stitch these seams open, wait to trim the thumb seam until after you have attached the front of the mitten to the back. Lastly, make sure to reverse when crossing the junction at the base of the thumb. This is a seam that will take a lot of strain during wear and benefits from the extra reinforcement

modern-quilt-mitten-sewing-pattern-Lovely-and-Enough.JPG
 

Tip 3: How to keep the wrist elastic taut while hand sewing

Cut a piece of cardboard to slide inside the wrist to keep the wrist elastic taut while hand sewing. The size of the cardboard will depend on the size mitten you are making. It should be about 3–4” long. The widths are as follows: small–4”, medium–4½”, large–5 ⅛”. I also like to put a piece of painter’s tape on the edges to keep it from snagging the batting.

Slide the cardboard inside the wrist, and use a binding clip to secure the elastic at either end of the cardboard. Voila, you are ready to hand tack the elastic!

modern-quilt-mitten-sewing-pattern-Lovely-and-Enough.JPG
IMG_6198.JPG
IMG_5404.jpg
 

Tip 4: How to avoid fluffy linings poking through blanket stitches

I found that when blanket stitching my wrist edges that if my stitches were initiated from the inside of the mitten, then I would inevitably pull fluffy white Sherpa tufts through with each stitch. This left me with a finished edge that didn’t look as neat as I wanted. To avoid this, sew the blanket stitch by pushing needle from the outside of the mitten to the inside as this avoids pushing fuzzy lining through to the outside with each stitch.

In the picture below, the top mitten was stitched from the outside and the bottom mitten was stitched from the inside. I know it’s subtle, but the white fluff balls at the base of each blanket stitch are more visible in person.

modern-quilt-mitten-sewing-pattern-Lovely-and-Enough.JPG
 

Share Pictures of your Handmade Mittens

I would love to see what you make, so tag your pictures on Instagram with #LovelyEnoughMittens. Can’t wait to see the mittens you create! Stay warm and cozy.

lovely-and-enough-mitten-pattern-inspiration.png
 
Mittens-Pattern-DIY-Lovely-and-Enough-04.jpg
Mittens-Pattern-DIY-Lovely-and-Enough-02.jpg
Mittens-Pattern-DIY-Lovely-and-Enough-03.jpg
Mittens-Pattern-DIY-Lovely-and-Enough-07.jpg
Mittens-Pattern-DIY-Lovely-and-Enough-06.jpg
Mittens-Pattern-DIY-Lovely-and-Enough-08.jpg

Patterns on Cases

Christmas is such a lovely time of year, full of joy and fellowship, cozy evenings and family. This year, I almost had more fun watching everyone open their gifts than actually opening mine! I was just so pumped for the little things I'd collected and crafted all fall long. One such gift was the iPhone case for my mom.


Last Christmas I designed cases with my hydrangea pattern for my sister and I (pictured above). I was so excited, but I couldn't post about it until I'd given the gift. Then I just never got around to it! This Christmas the same thing happened, except that, with Mom as my blog cheerleader, she went outside with me to take photos. (Moms are great, aren't they?) So here it is, the new uniola case! It looks great with her white iPhone, and it will be a fun change of scenery from her leather Fossil case when she feels the need for a shift.

PS It's ridiculously simple to do on Shutterfly. You should definitely give it a whirl with your favorite fabric design!