Waist Stays and Weddings

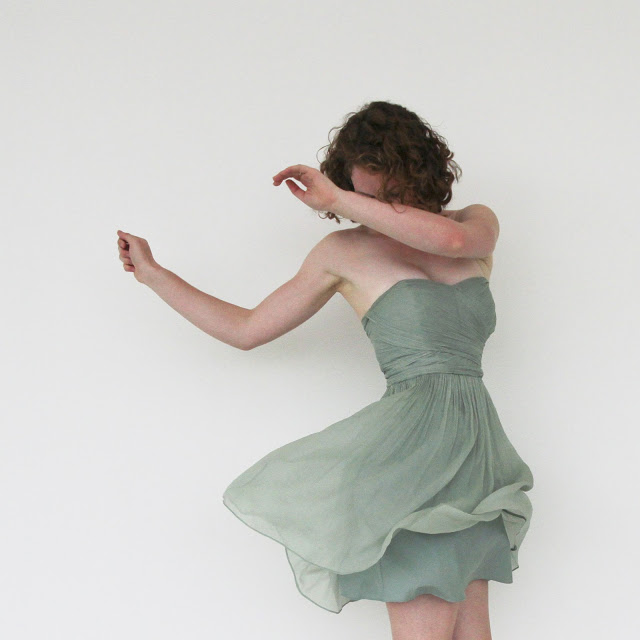
Two weeks ago, I had the great fun of traveling up to Chicago to see one of my close friends get married! Her elegant and classic taste had me scrambling for the perfect dress to wear to the occasion. Good news: the dress was already in my closet. Bad news: it was strapless...and I can't keep up strapless dresses. I blame it on my long waist.

As the day approached, I found myself web searching for the best method of making a strapless stay put. I hear tape. I heard rubber glue. I heard (in my own head) the sigh of frustration as I hiked my taped and glued dress up for the umpteenth time. And then I heard waist stay and extended boning.

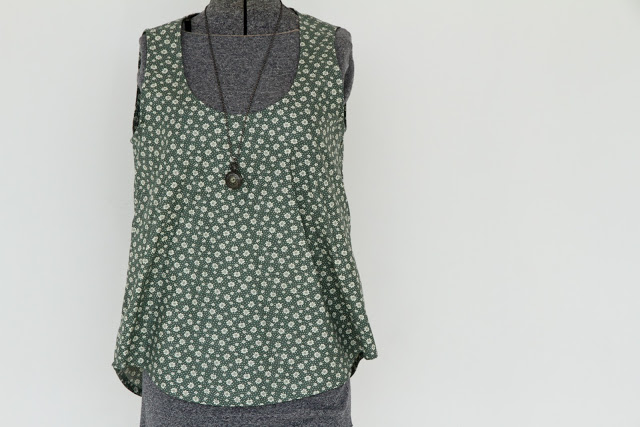
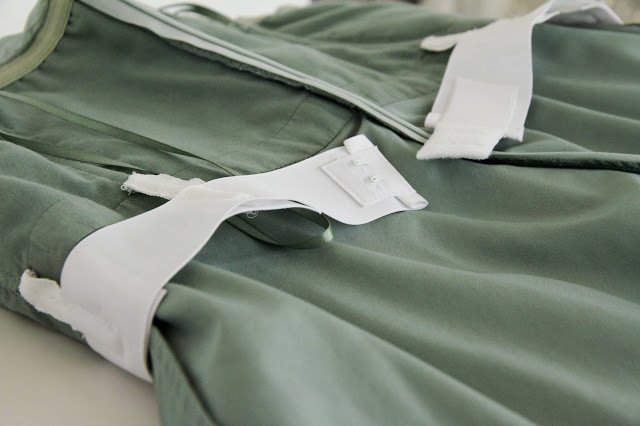
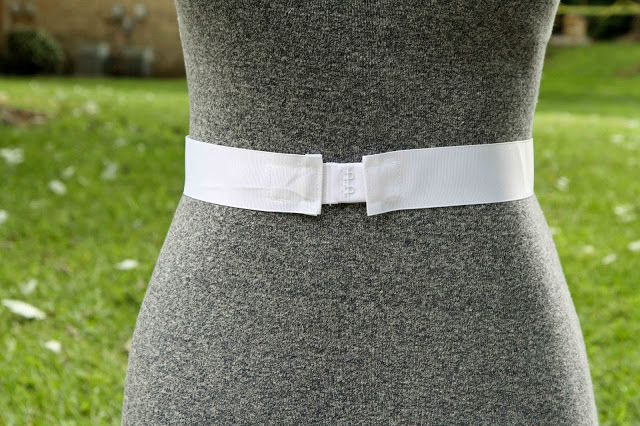
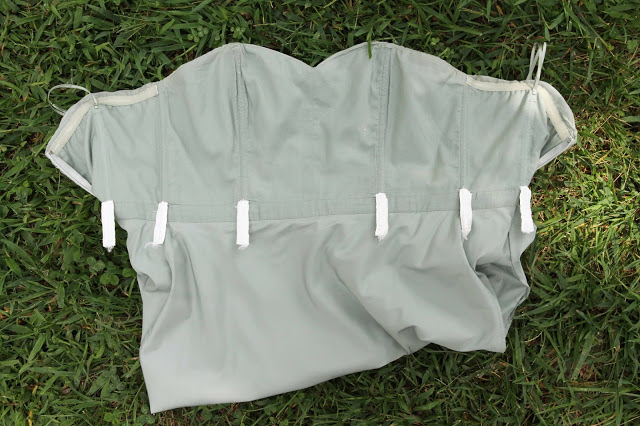
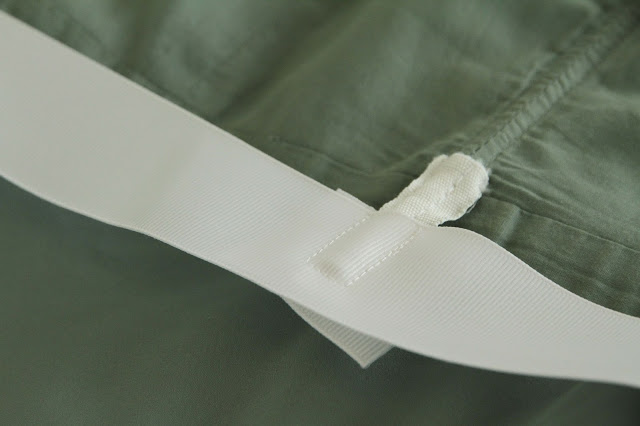
Don't get me wrong; I am a supporter of bandaids. But when it comes to an option that might suffice or one that will ultimately solve the problem, I vote problem solver! By extending the boning and adding a waist stay (a loop of ribbon that hooks around the narrowest part of your waist and is sewn to the bottom of the boning), I could allow the dress to sit on my waist, simultaneously eliminating slippage and taking strain off of the zipper. I followed Jenna's tutorial and voilà! The dress could withstanding jumping and dancing and raising of arms! Even raising my arms above my head while I jumped and danced!! Problem solved.

I did make three edits to the tutorial:

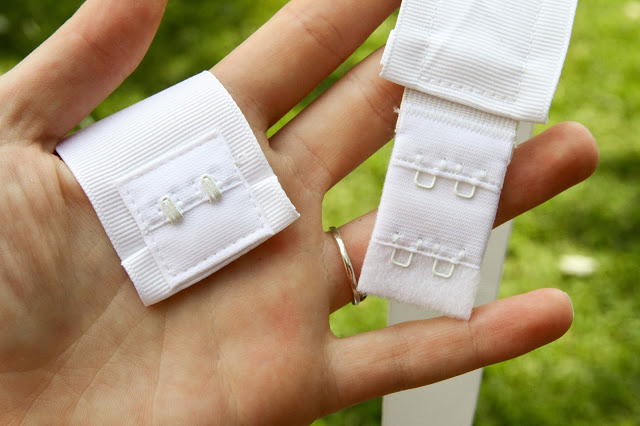
1. Minimize the Hand Sewing:

Instead of hand-sewing my hooks and eyes, I opted for a bra mending kit that provided me with two size options and no hand-sewing.

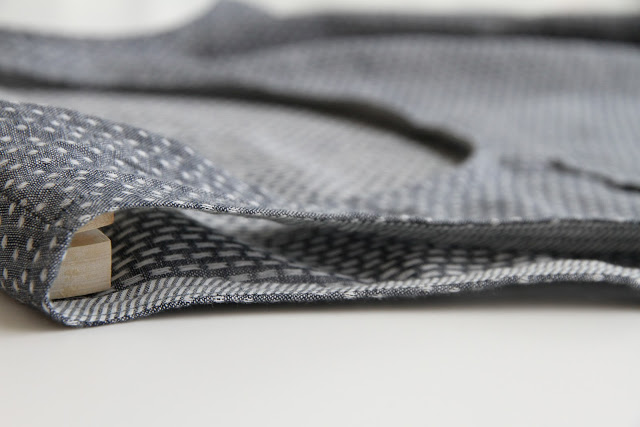
2. Flatten that boning.

Following Tasia's instruction on Sewaholic, I soaked my boning in boiling water for ten minutes to allow the plastic to relax from its curled state and then pressed the pieces under a book for another ten minutes to ensure flatness.

3. Keep the anti-slip from slipping.

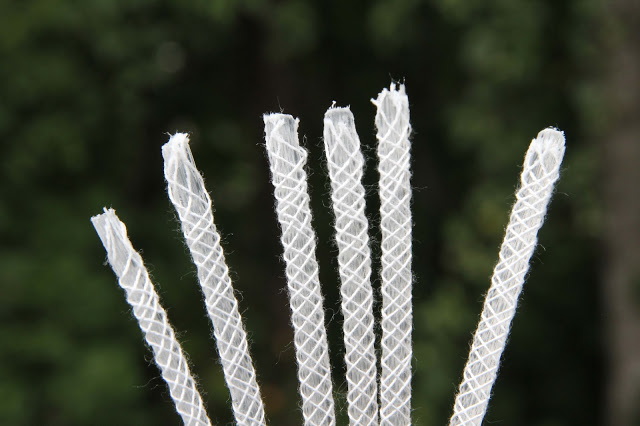
Somehow the boning I purchased had "anti-slip" cords wrapped around the plastic boning. When I removed the boning from the fabric casing, I had trouble getting the cords to not slip and unravel. Worse, as I fed the boning into the channels of my gown, the cords would bunch up.  My simplest solution was to dab a little elmer's glue on the ends to hold it in place, and that worked like a charm.

It's that easy. (And bear in mind that I am not a clothes sewist.) If you have a structured dress you absolutely love that simply doesn't stay up, I would encourage you to try this! It took me one Saturday morning, and now I have a go-to favorite dress that I feel comfortable wearing to swish away the night. Absolute win.

Wiksten Tank and a Broken Pedal

It has been exactly fifty-one weeks, since I purchased this fabric and pattern from Sew to Speak on my roadtrip down to Raleigh, and it is finished at last! After whipping up a muslin to test the pattern about a month ago, I was pretty happy with the fit and pumped to do the real thing. With my boyfriend in town for a couple weeks, sewing progress slowed significantly, but I pulled him along to sewing night with me, and I knocked out the cutting, pockets, and French seams while he pieced three blocks for a charity quilt. That's my man :) 

Poised to stitch in the bias tape binding, I realized just how much my machine needs a little TLC. The foot has been going out for awhile, but it had reached the point where there was no slow and no medium speed. Just FAST. Imagine: push your foot down no motion, push your foot down no motion, just a little further no motion, then WHOOSH, OFF WE GO. The delicate striped fabric couldn't really handle such yanks, so I decided last Friday that it was finally time to bring the old Bernina into the shop.

The friendly man informed me that it might not be my foot but my machine, and that I would have to leave the whole kit and kaboodle there. I was heartbroken.

Well, heartbroken might be a slight exaggeration, but when he told me I needed to leave my machine and not just the foot (I have another foot, so I assumed I'd be able to keep sewing even with the one foot in the shop), my distressed response was emotive enough to turn heads in the shop. He wheeled my Bernina into the back room, and when I asked for the fourth or fifth time, if I had to leave the machine as well as the foot, he asked me why I didn't want to leave it. Simple, right? I wanted to sew that weekend!

Lights dancing in his eyes, he chuckled a little and said that I could simply borrow a machine from the shop. Free of charge. !!! He sent me home with a Bernina 350, the new new improved version of my machine! Trading up for the weekend. It was like butter sewing the bias tape binding. I followed Grainline Studio's tutorial for getting flat bias tape necklines, and of course forgot a step on the neckline that I remembered for the arm holes, but I don't care. It is finished.

All stories aside, I think it's important to remember, that no matter how polished someone's blog looks, everyone forgets steps, messes up, procrastinates fixing things, accidentally draws stares in the fabric store, and gets a bit of a grainy photo here and there. You're in good company.

Wiksten Muslin amidst Summer Adventures

My my, it's been much too long since I've been here. Life can get away from you like that sometimes, can't it? Well, I haven't been busy sewing, but since the summer quilting break was for enjoying life, I think I can consider it a successful July. 

I finished the muslin for my Wiksten tank with Olivia Pope and company battling away beside me. Our government may be a little more corrupt than I gave it credit for, but the tank fits better than I expected! (If you don't know what I'm talking about, check out the TV show Scandal. And yes, I know it's fiction, but it does make you lose a little faith in humanity and the President.) The Wiksten is pleasantly long and has a good neckline and strap width. I only thought it needed two alterations:

1. I took it in about a half inch at the natural waist on both sides.

2. I look forward to a more draped fit with the double gauze.

3. Okay, it might need to be taken in slightly at the back of the neck, but the double gauze could solve that as well.

I've already started sewing it up with the real fabric, and holy cow. Sewing with good quality fabric is dreamy. I have informed my boyfriend that we will be stopping at Sew to Speak on our roadtrip through Ohio to see if they have more lovely light-weight cottons to stitch up. I can't promise that I will be back here sooner than this last gap, but I will have a finished Wiksten Tank and some sand in between my toes. Back soon!

Wiksten Begins

preparations for beginning the wiksten tank with grey double gauze | Lovely and Enough

As the first project to kick off my quilting recess, I'm finally going to start the Wiksten Tank! I picked up the pattern from the lovely little shop Sew to Speak in Ohio on my roadtrip down to North Carolina last August along with some lovely double gauze. Unfortunately quilting has been stopping me from starting. No longer!

I can't wait to begin, and I imagine I might be wearing the top quite a bit with this hot summer we're having! Any tips for a sewist who hasn't tackled clothes in quite some time?

the popular wiksten tank pattern | Lovely and Enough
lovely neutral double gauze for a sewing project | Lovely and Enough
the popular wiksten tank pattern | Lovely and Enough