
It was an exciting week last week. In between finishing up classes, planning for graduation, doing my best to get wrinkles out of my gown sans iron, and turning in final projects, I drove into the city with Brent to get my screens. My very own screens. Three white 160s and one bright yellow 225. Clean and without tear or caked on emulsion. Mine.


On Thursday, I stole a couple of hours in the middle of packing to coat and shoot them and since I've never shared this particular part of the process before, I took pictures! It's really quite simple. First, you coat each screen with a thin layer of emulsion front and back. This emulsion is light-sensitive, so you have to hide the screens in that black curtained rack until you're ready to shoot them.
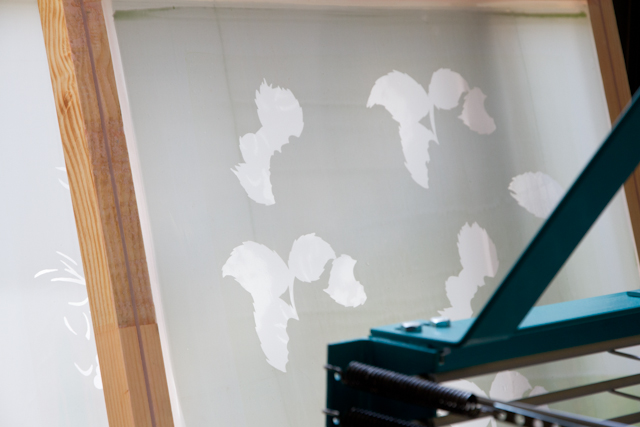
"Shooting" or exposing the screen refers to exposing it on the light table, kind of like shooting a photo. Since I've never done film photography before, I can't draw the beautiful analogy here; I can only explain screen printing, but I know both processes have things in common. For screen printing, the emulsion hardens when it is exposed to light, so I paint my designs in opaque paint onto clear acetate and lay it on the screen. Wherever there is paint, the emulsion stays soft, and I can wash it out later.
The table vacuums the screen to the glass eliminating any wrinkles in the acetate and ensuring that light doesn't creep around the edge of the painted patterns. A bright bright light turns on for around seven minutes, I read my book, and then it's time to blow out the screen.
This is the spray booth where I "blow out" the screens. When the emulsion comes in contact with water, it ceases reacting with light, so the soft parts remain soft. Then, with a pressurized hose, I can blow out the parts of the pattern that I want ink to go through, in this case, leaves!
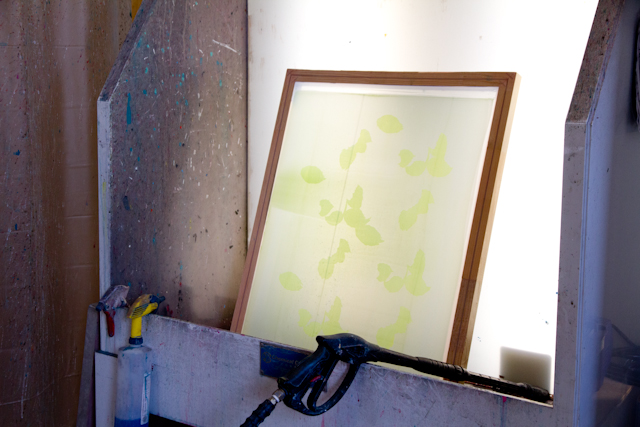
After I've removed all of the emulsion in the pattern, I set the screen to dry and fully expose in the window well. The emulsion, which begins a shade of green, turns a greyish blue when it is fully exposed and then it can no longer be easily washed out from the screen.
I prepared my three 160 thread-count screens with my hydrangea patterns for the summer and exposed flamingos onto the 225. (You can see previous incarnations of the flamingos here, here, and here.) Then, with my new screens, I printed onto two quilt tops. One is a reprinting of this quilt. And one is a completely new exploration. I experimented with printing only three of the hydrangeas and overlaying them across the quilt, while also taping out several triangles to leave them blank, as if they were pieced in after the printing.
Watching Taylor and Zac fall in love in the quaint southern flick The Lucky One for the second time this week, I printed the afternoon and evening away, taping and re-taping the screens to achieve just the bloom patterns I wanted. Such a great day. I could do this for the rest of my life.
If you have any questions about the process, I am happy to field them. I tried to keep the explanation pretty simple, but I truly do understand it in more depth, so hit me up even if you're just curious.